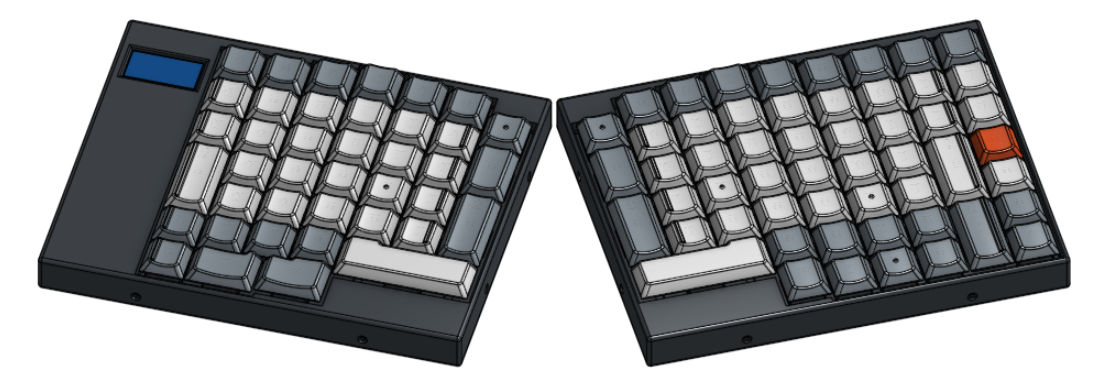
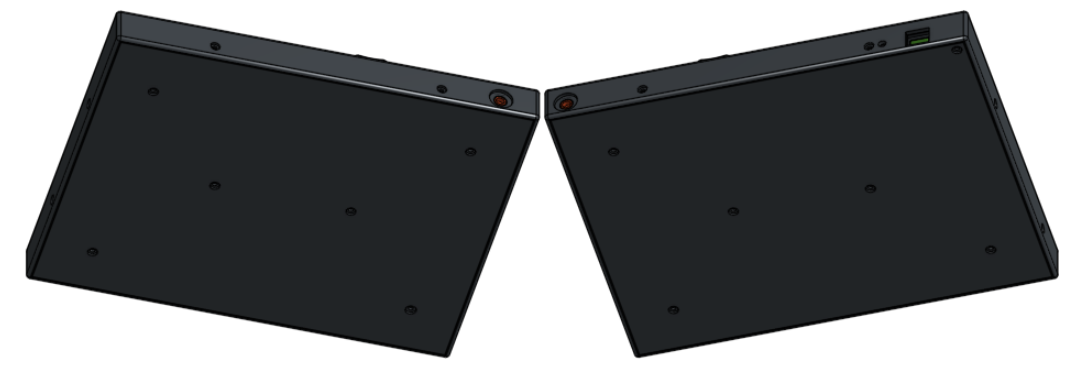
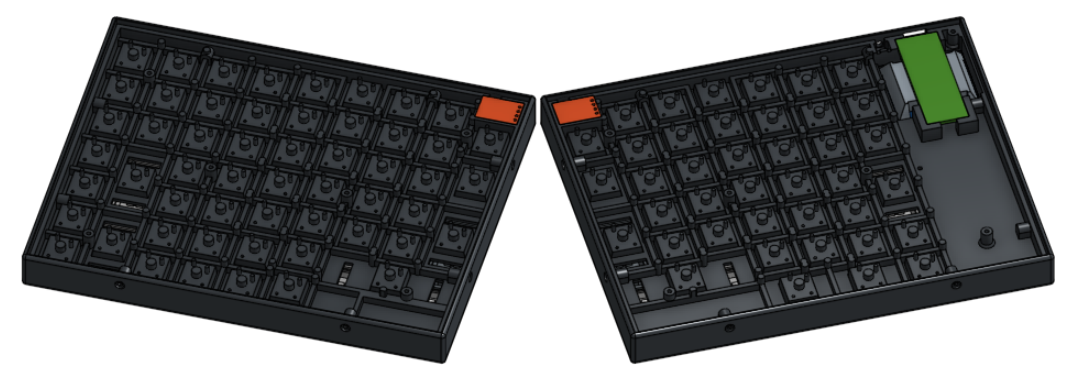
3D Printable Parts
Design
Everything was designed with OnShape. It is free for OSS projects and works from the browser. I heard only good things about Fusion 360, but no Linux support was a deal breaker.
You can browse the design here. Some considerations:
- Given the geometry limitations of 3D printing, I broke down the frame in 2 parts, that could be easily printed upside down and then screwed in together.
- The Cherry MX frame is filled with reinforcements to keep it rigid.
- The Teensy and the OLED screen are very tightly packed, it was challenging to design, but it really paid off.
- Long keys need stabilization. It took about a dozen prototypes to tune dimensions for the 3D printing process, but it worked very well in the end:
Never underestimate the amount of design work! The amount of detail to things seemingly simple will surprise you often!
Screenshots


Printing the Parts
All parts were printed with a Original Prusa i3 MK2S and PLA, sliced with Slic3r Prusa Edition. Most parts were a breeze to print, but some gave me headaches.
First, there was a LOT of prototyping to find the precise dimensions for the keycaps connection to the Cherry MX switches. On top of finding the correct values, not precise enough first layer calibration let parts with elephant foot, which also made things harder. Second, the stabilizers (that need to grab on a paper clip). Tedious, but straightforward.
The real challenge came when printing the keycaps. I probably printed around two dozen prototypes, playing with print settings, until I found the ones that got me good results:
- 0.1mm layer height and variable layer height to 0.05mm for the top part. Decent speed, decent quality.
- Moved seam to the rear, where it is not visible. Without it, seams are everywhere and look terrible on a piece so tiny.
- Played a lot with support settings, until I managed to squeeze them where they were needed (Slic3r supports are a gamble at best). I also tried building custom supports in the model itself, without luck.
- Tuned the Top/Bottom Fill Pattern to Rectilinear and changed the angle to 90. This gave the top surface a decent look.
Even though, I had a significant failure rate when printing the keycaps, due to adhesion issues. Thoroughly cleaning the print bed with isopropyl alcohol and only printing at the center part of the bed improved success rate a lot. I also set Slic3r to do sequential printing, so I would not lose a whole batch if there was a failure.
Getting the STL Files for Printing
They are available at the repository for download.
The source for all 3D models used in this project can be found at OnShape. From there, STL files can be easily exported as well.