Firmware
Why a custom firmware
Nowadays we have things like the popular Quantum Mechanical Keyboard Firmware, but in 2013 when I wrote this custom firmware to my hacked TypeMatrix keyboard (know the saga here), it was not an option.
Looking at QMK code, I found it to be similar to what I did in the past: base it on the LUFA library, build the keymap, key scan code and drive the display. But QMK even supports other USB libraries and several keyboard configuration. Given my previous experience with LUFA, I figured the amount of code I’d need to add to QMK to make it work for my case would be almost the same as if I wrote everything just with LUFA. That’s what I did.
Notable Firmware Features
- Based on the brilliant LUFA USB library.
- Optional Virtual Serial USB Debugging.
- USB Remote wake up support.
- Key mapping:
- Hardware layout mapping, independent for the computer (Dvorak or QWERTY) and keyboard (also Dvorak or QWERTY).
- Hardware keypad.
- Easy mapping of key functions:
- Regular key press.
- Support for HID Keyboard/Keypad Page codes (eg: letters, numbers).
- Support for HID Generic Desktop Page codes (eg: browser, shortcuts etc) (not in QMK).
- Sequence of key presses (eg: Alt+Tab).
- Layout change.
- Custom function.
- Regular key press.
- Display
- Driven by u8glib.
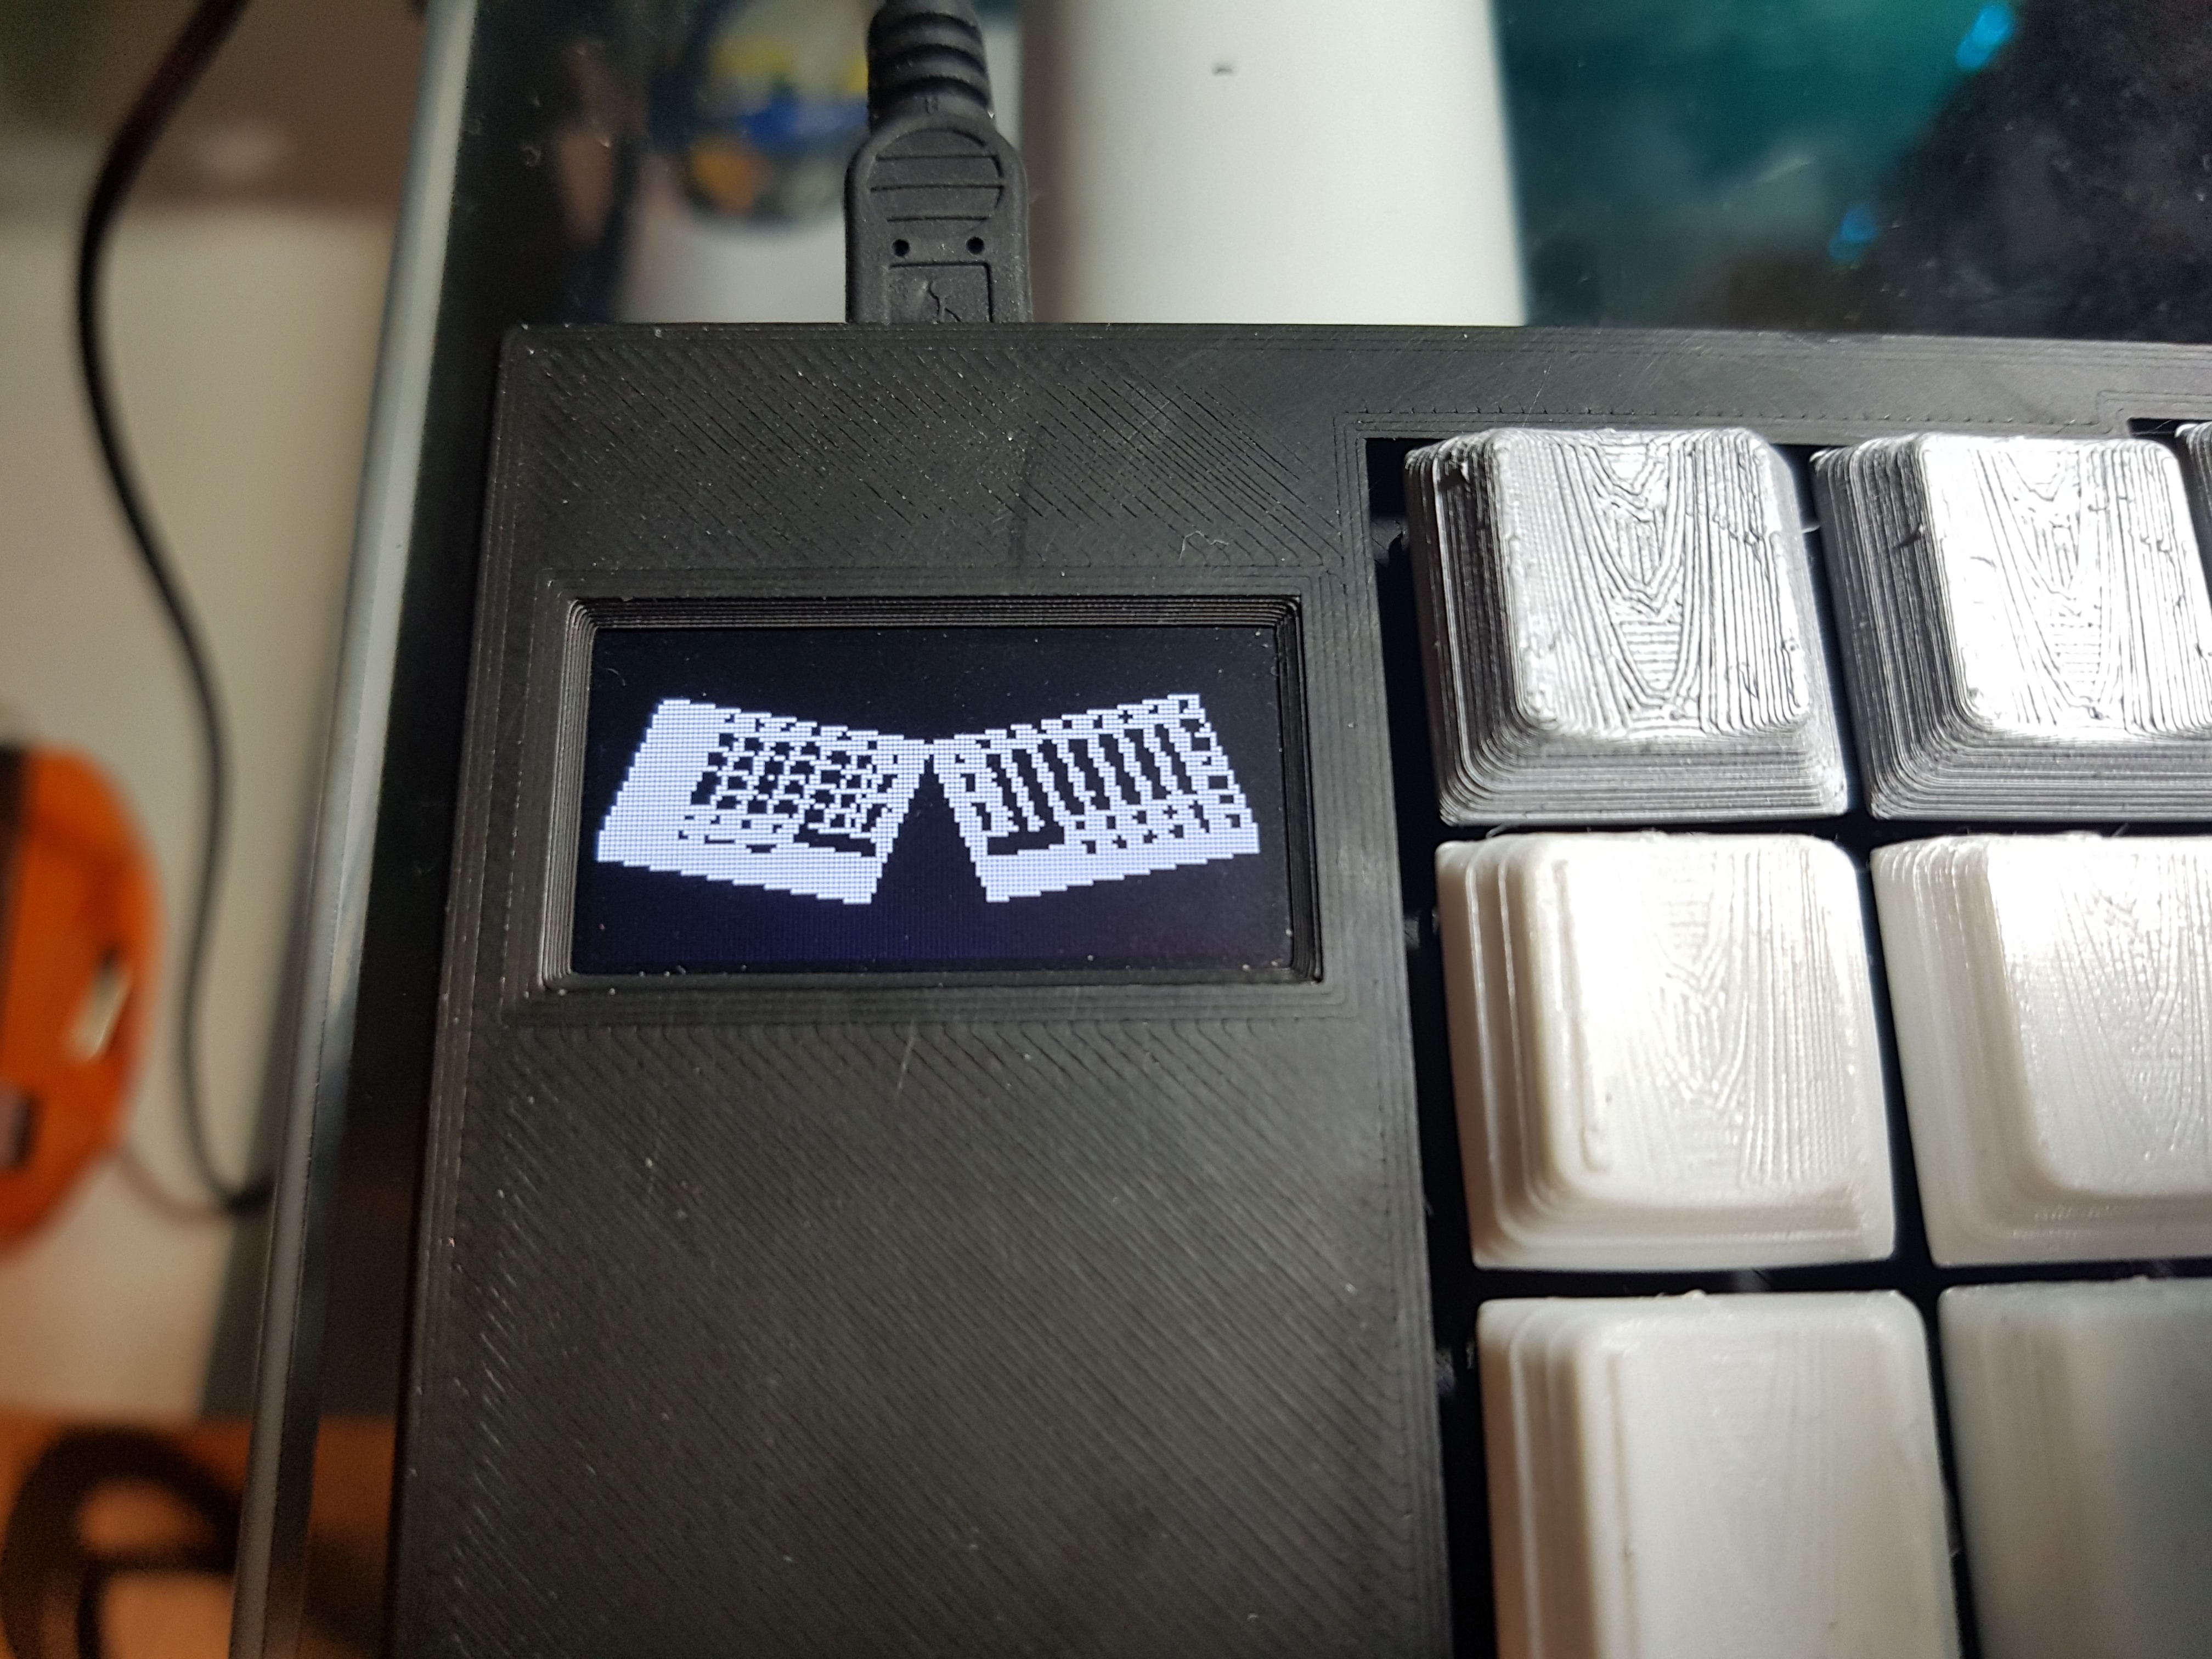
- Boot splash screen.
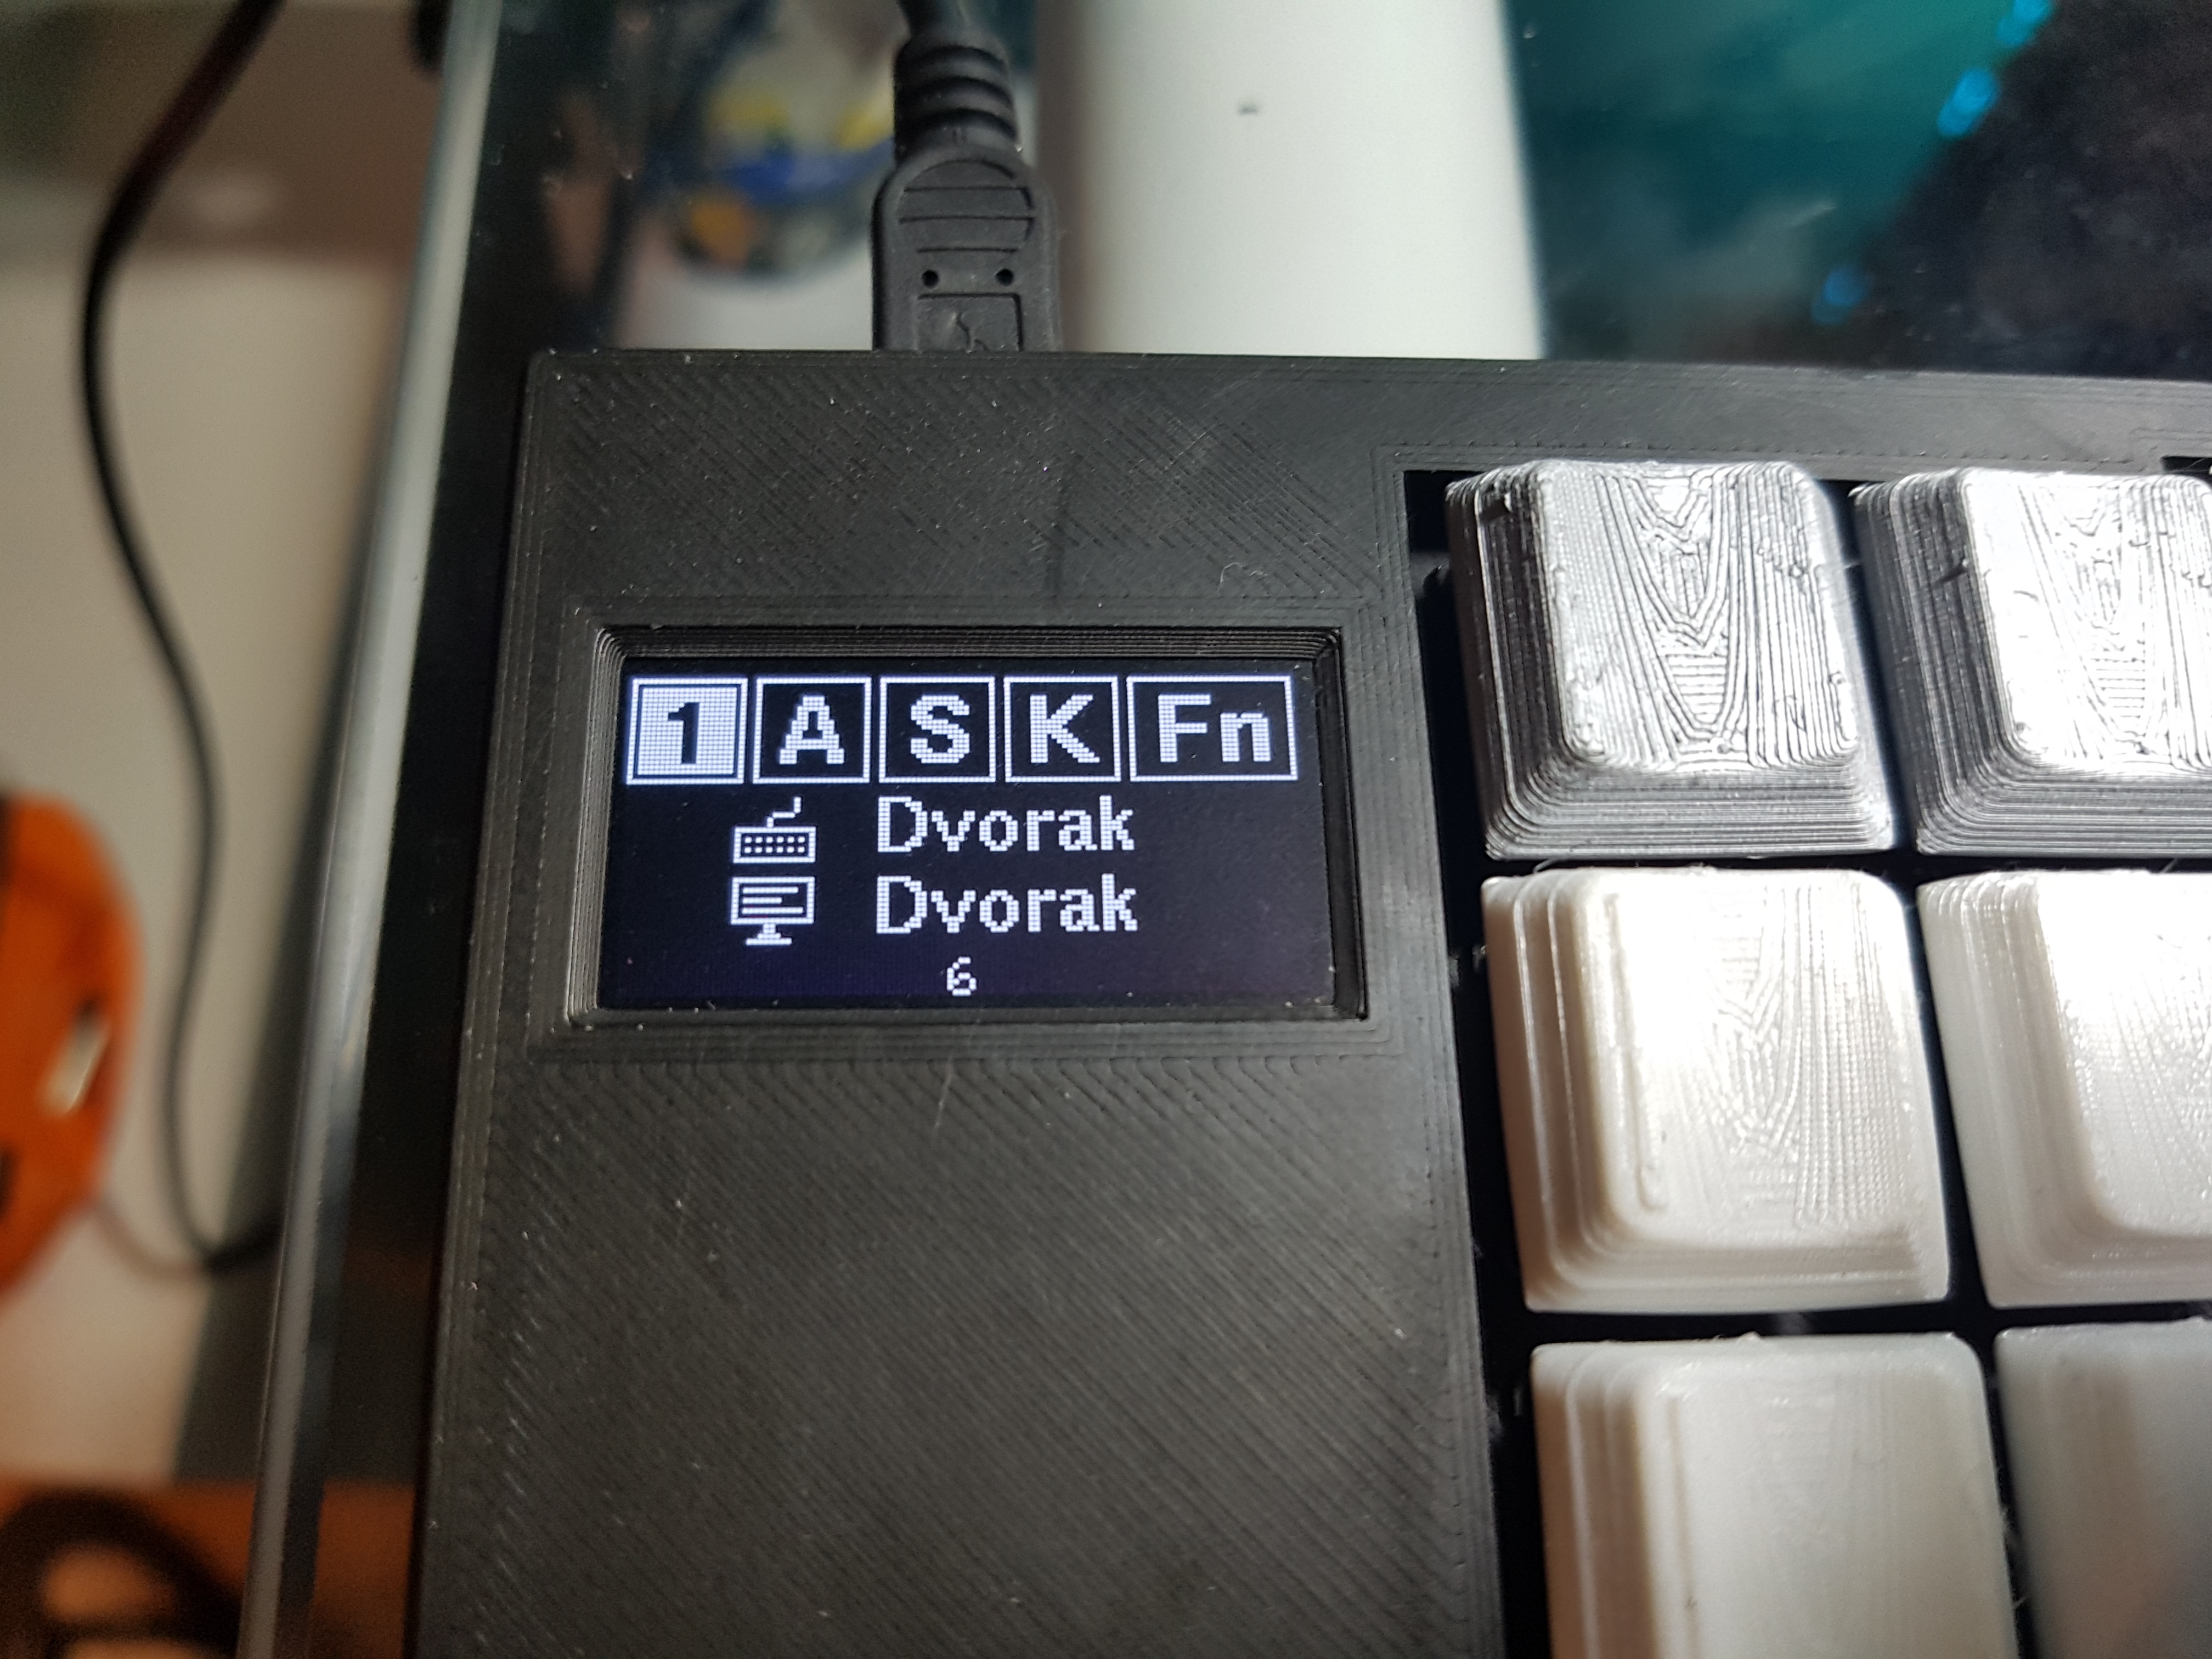
- USB communication status (addressing, suspended etc).
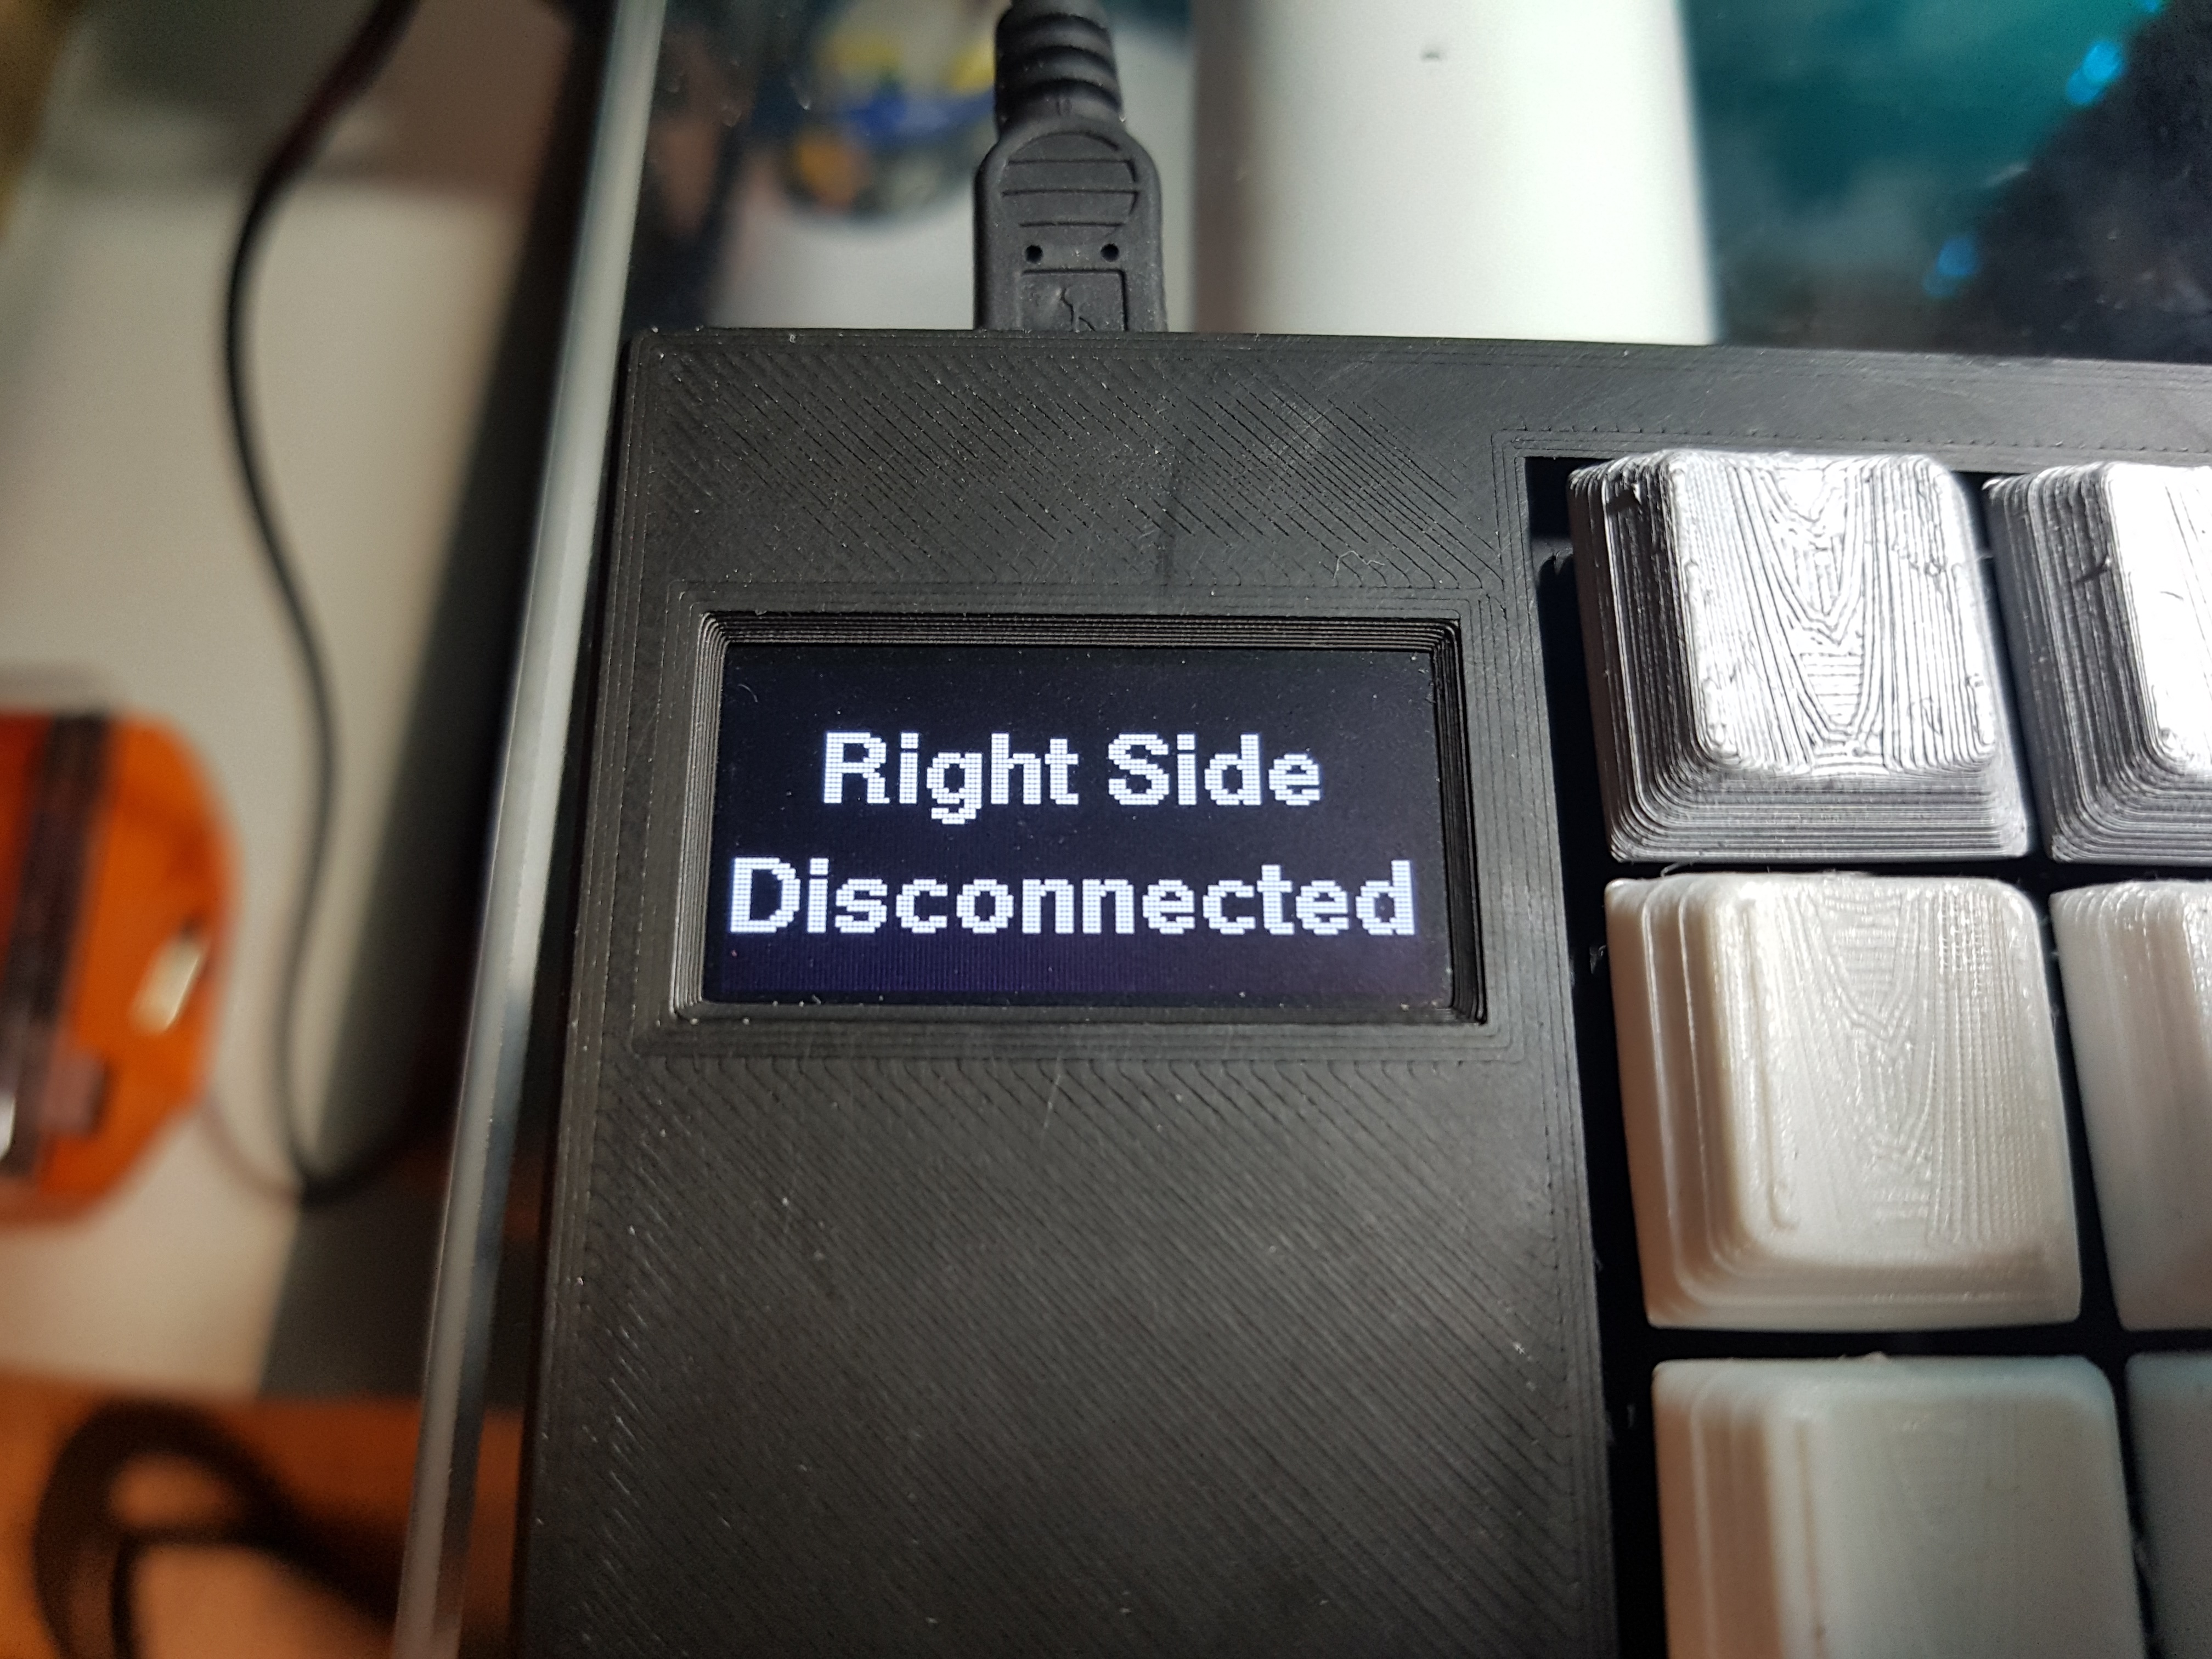
- Right side disconnected.
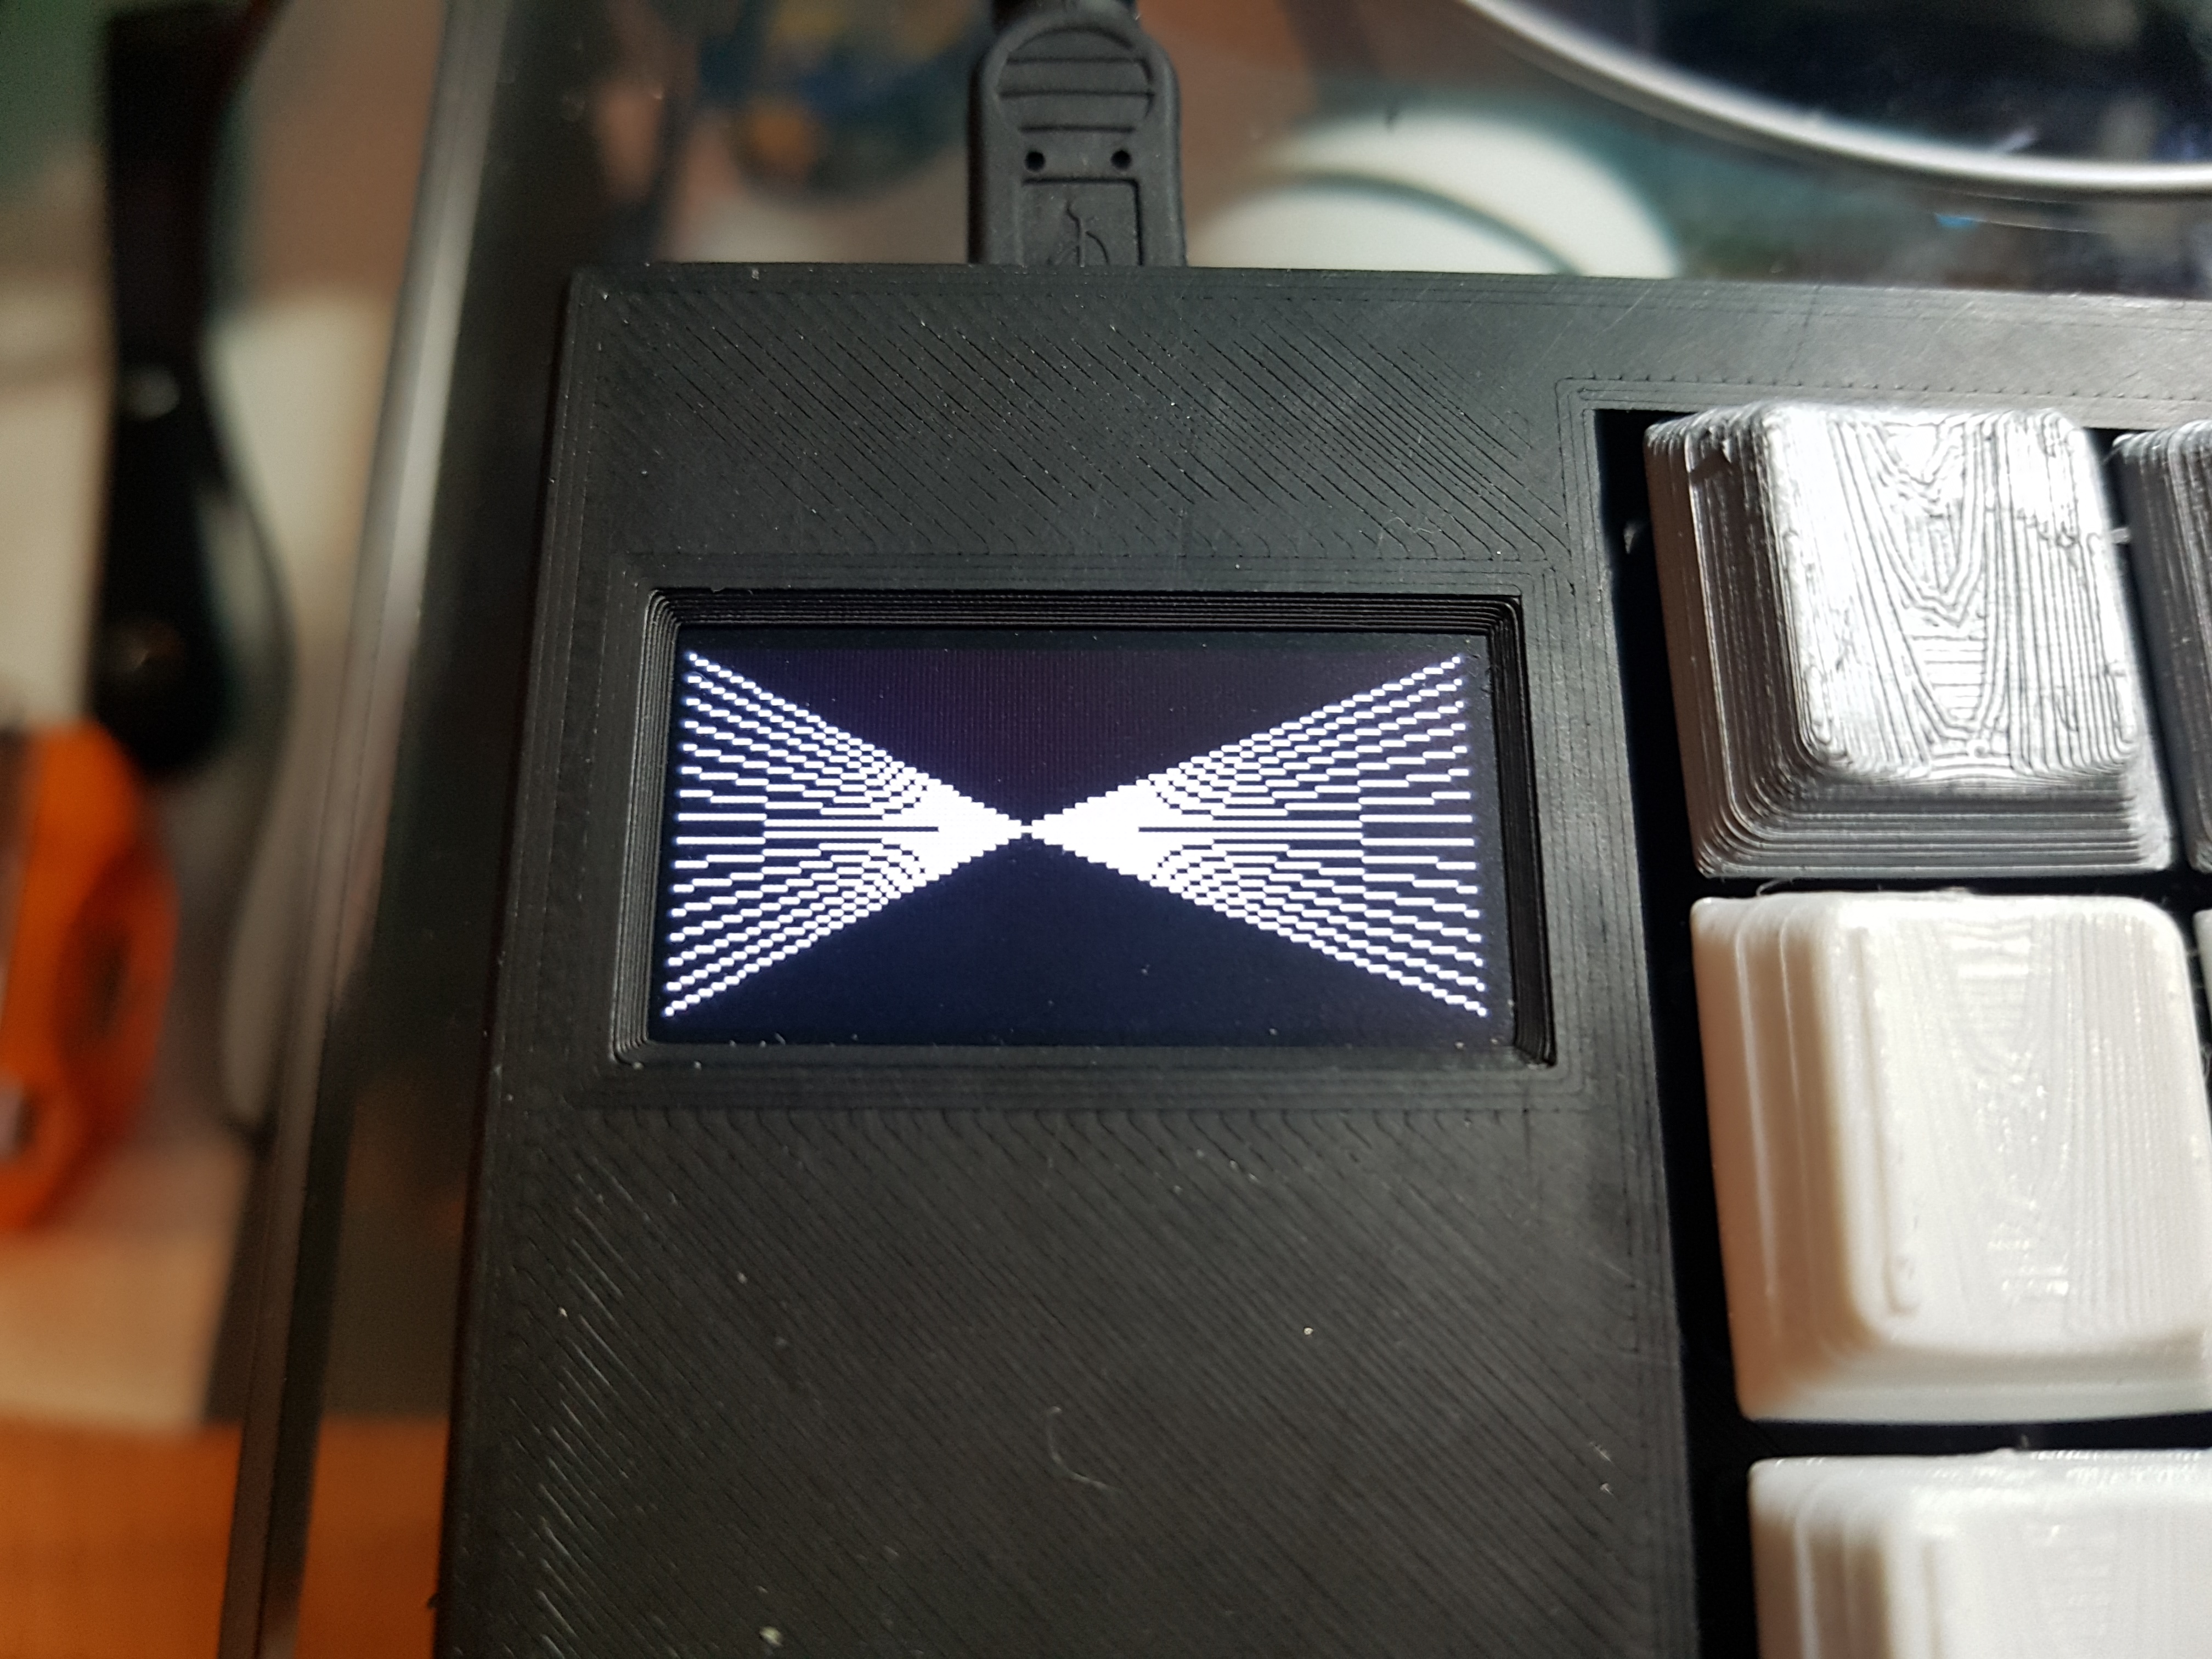
- Screensaver to avoid OLED burn in.
- Full status:
- NumLock
- Caps Lock
- Scroll Lock
- Hardware keypad
- Fn key (access to alternate functions)
- Computer layout.
- Keyboard layout.
- Key press counter.
Screenshots
-
Splash Screen on boot:

-
Status when USB connected:

-
Right side disconnected:

-
Screensaver:

Compiling and Loading the Firmware
Clone the repos:
git clone https://github.com/fornellas/3d_printed_keyboard.git
cd 3d_printed_keyboard/
git submodule update --init --recursive
Make sure you have AVR GCC and AVR Libc installed. At Ubuntu 16.04 Xenial:
apt install gcc-avr avr-libc
Compile it:
make clean all # regular build
SERIAL_DEBUG=1 make clean all # with serial debugging
And finally, press reset button on the Teensy 2.0++ board and:
make load