Hardware
The brains of the keyboard is a Teensy 2.0++ (AT90USB1286). It might be an overkill for what is needed, but it does its job. It handles all USB communication, drives the key scan for the left side and the OLED display. The I2C I/O expander handles the key scanning of the right side, so we need only 4 wires between both sides.
Parts List
- 3D printed parts.
- Teensy 2.0++ (AT90USB1286)
- 1.3’’ SPI Serial 128X64 SH1106 OLED Display
- M2X6L Screws
- TRRS 3.5mm Audio breakout (you can find “generic” ones cheaper on eBay / Amazon).
- TRRS 3.5mm Audio Cable
- Cherry MX Brown Keyswitch - MX1A-G1NN
- 1N4148 Diodes
- MCP23017 I/O Expander.
Pictures
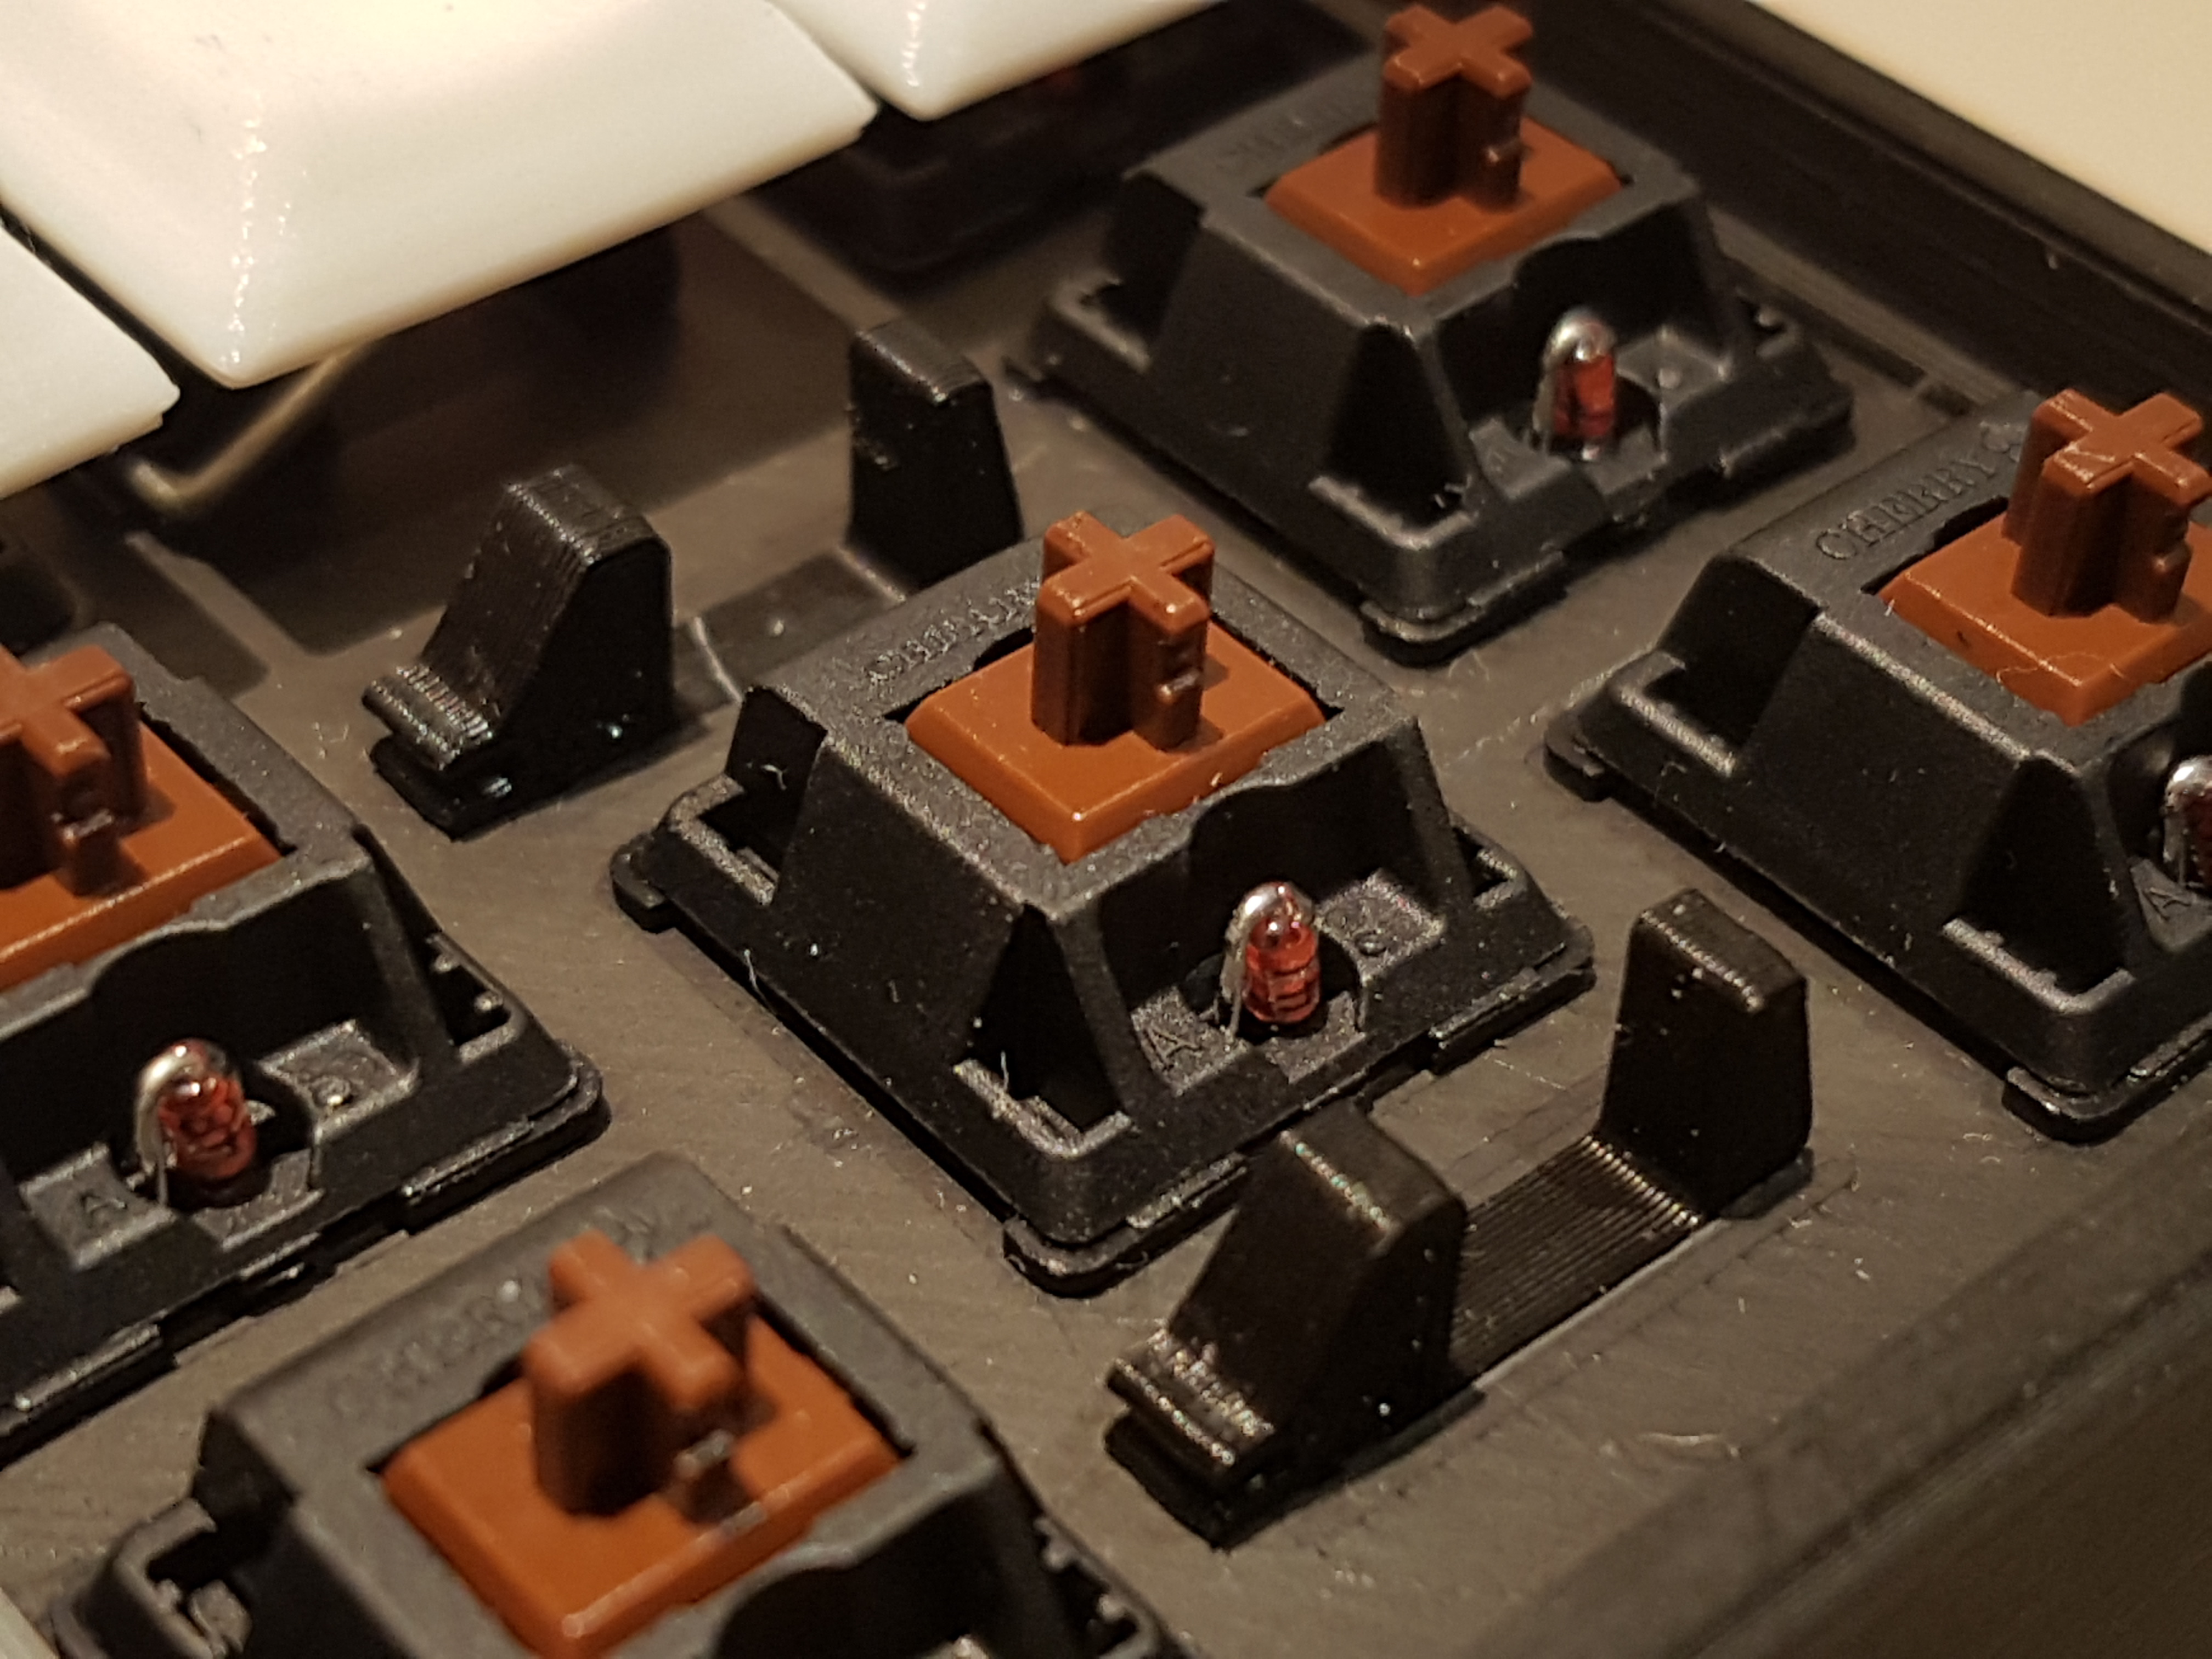
To avoid ghosting, each Cherry MX key has its own diode:
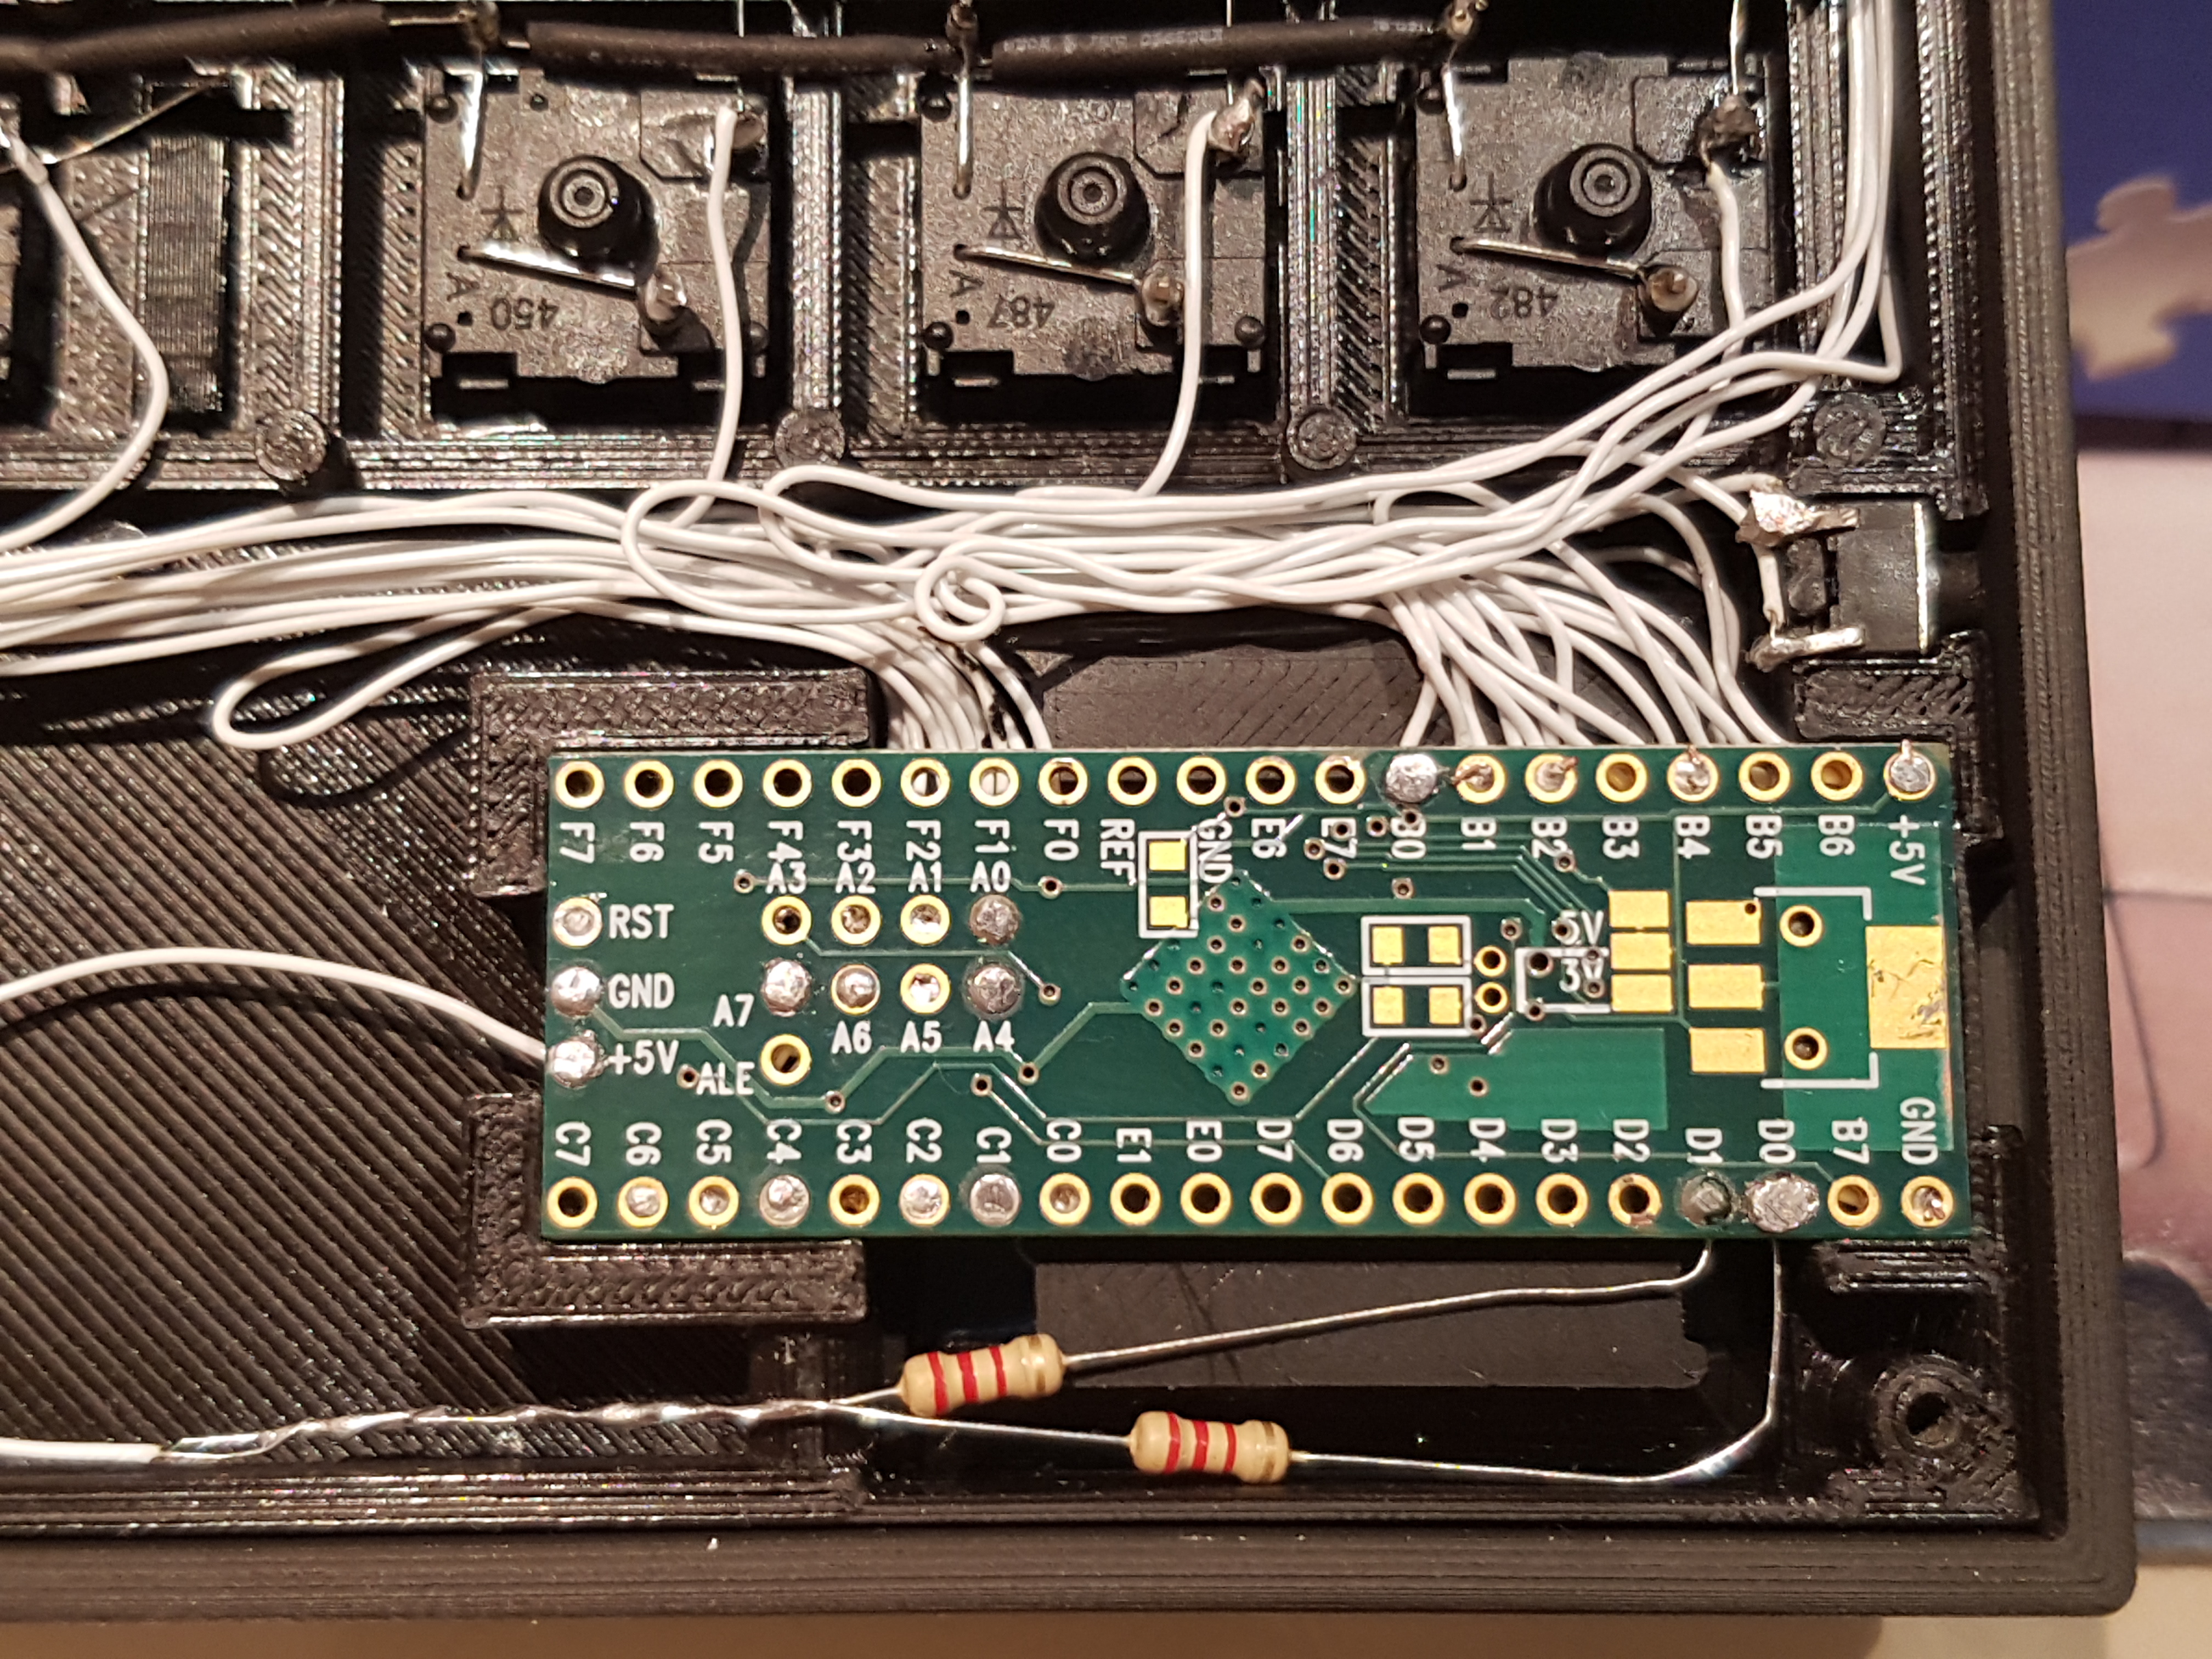
The switches are wired from below, using uninsulated wires and insulating with heat shring tube where needed:

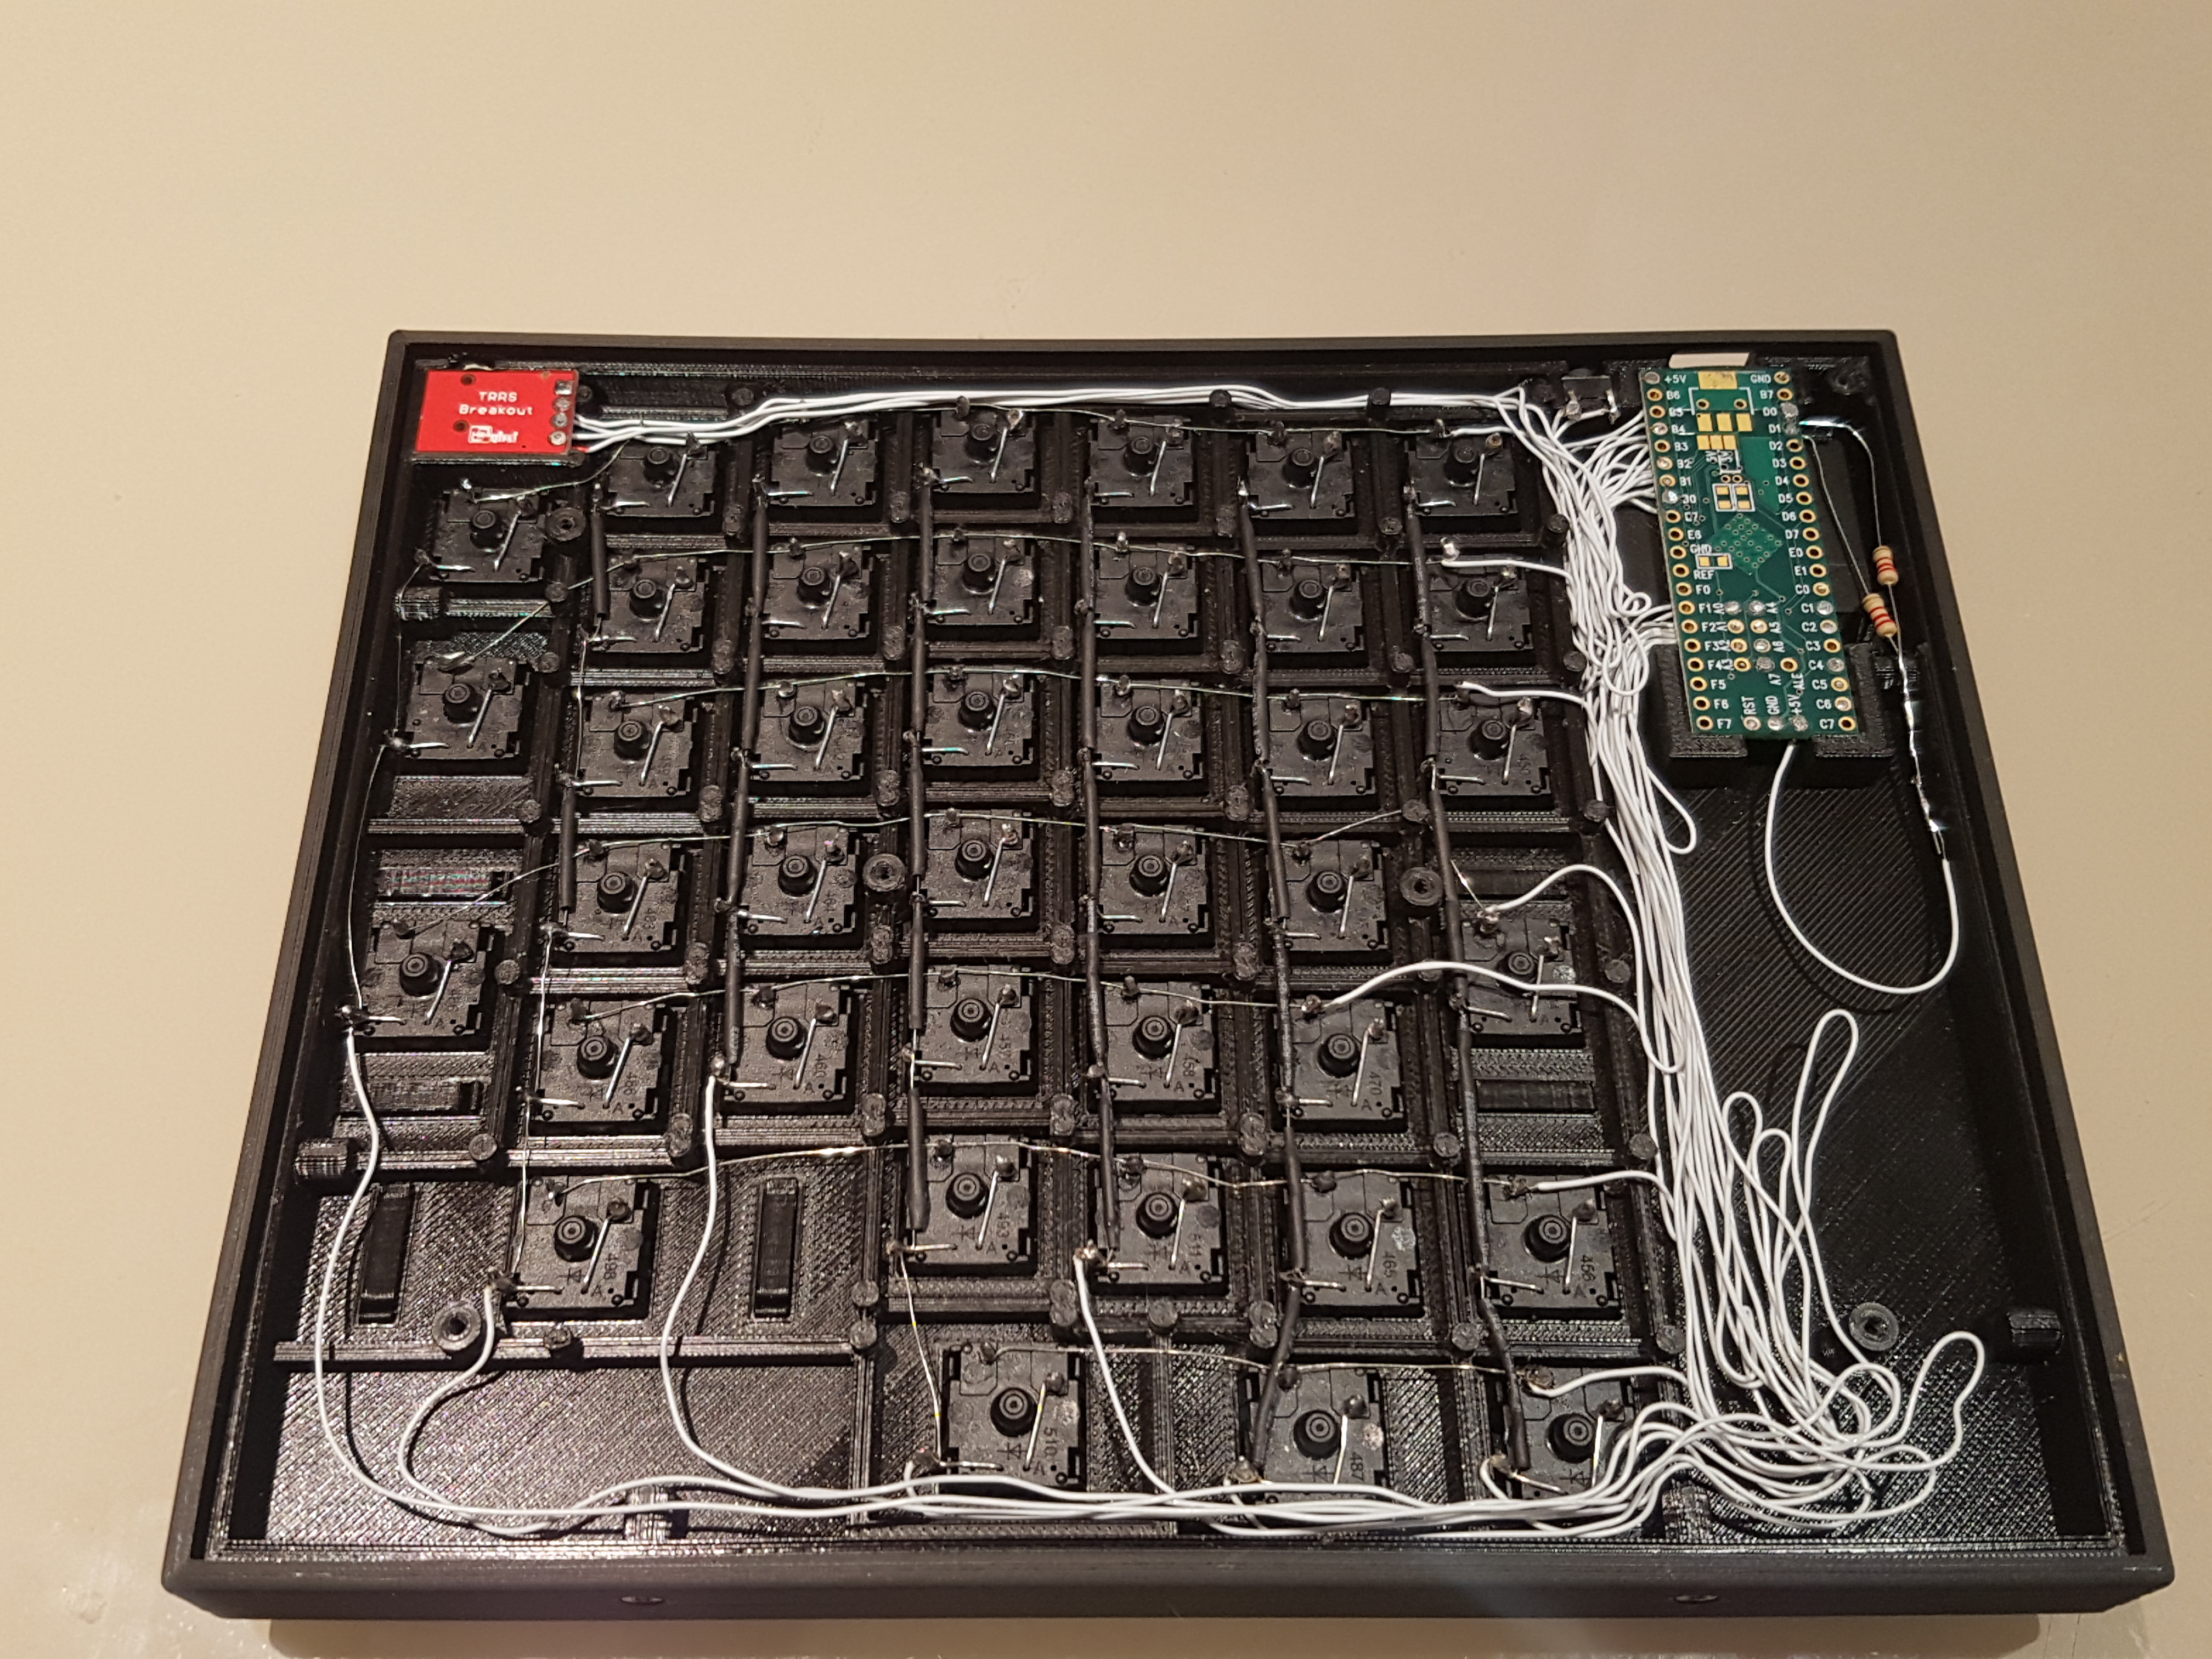
The Teensy is at the corner, exposing its USB connection. Here you can see all the wires attached to it, and the 2 pull-up resistors needed for I2C:
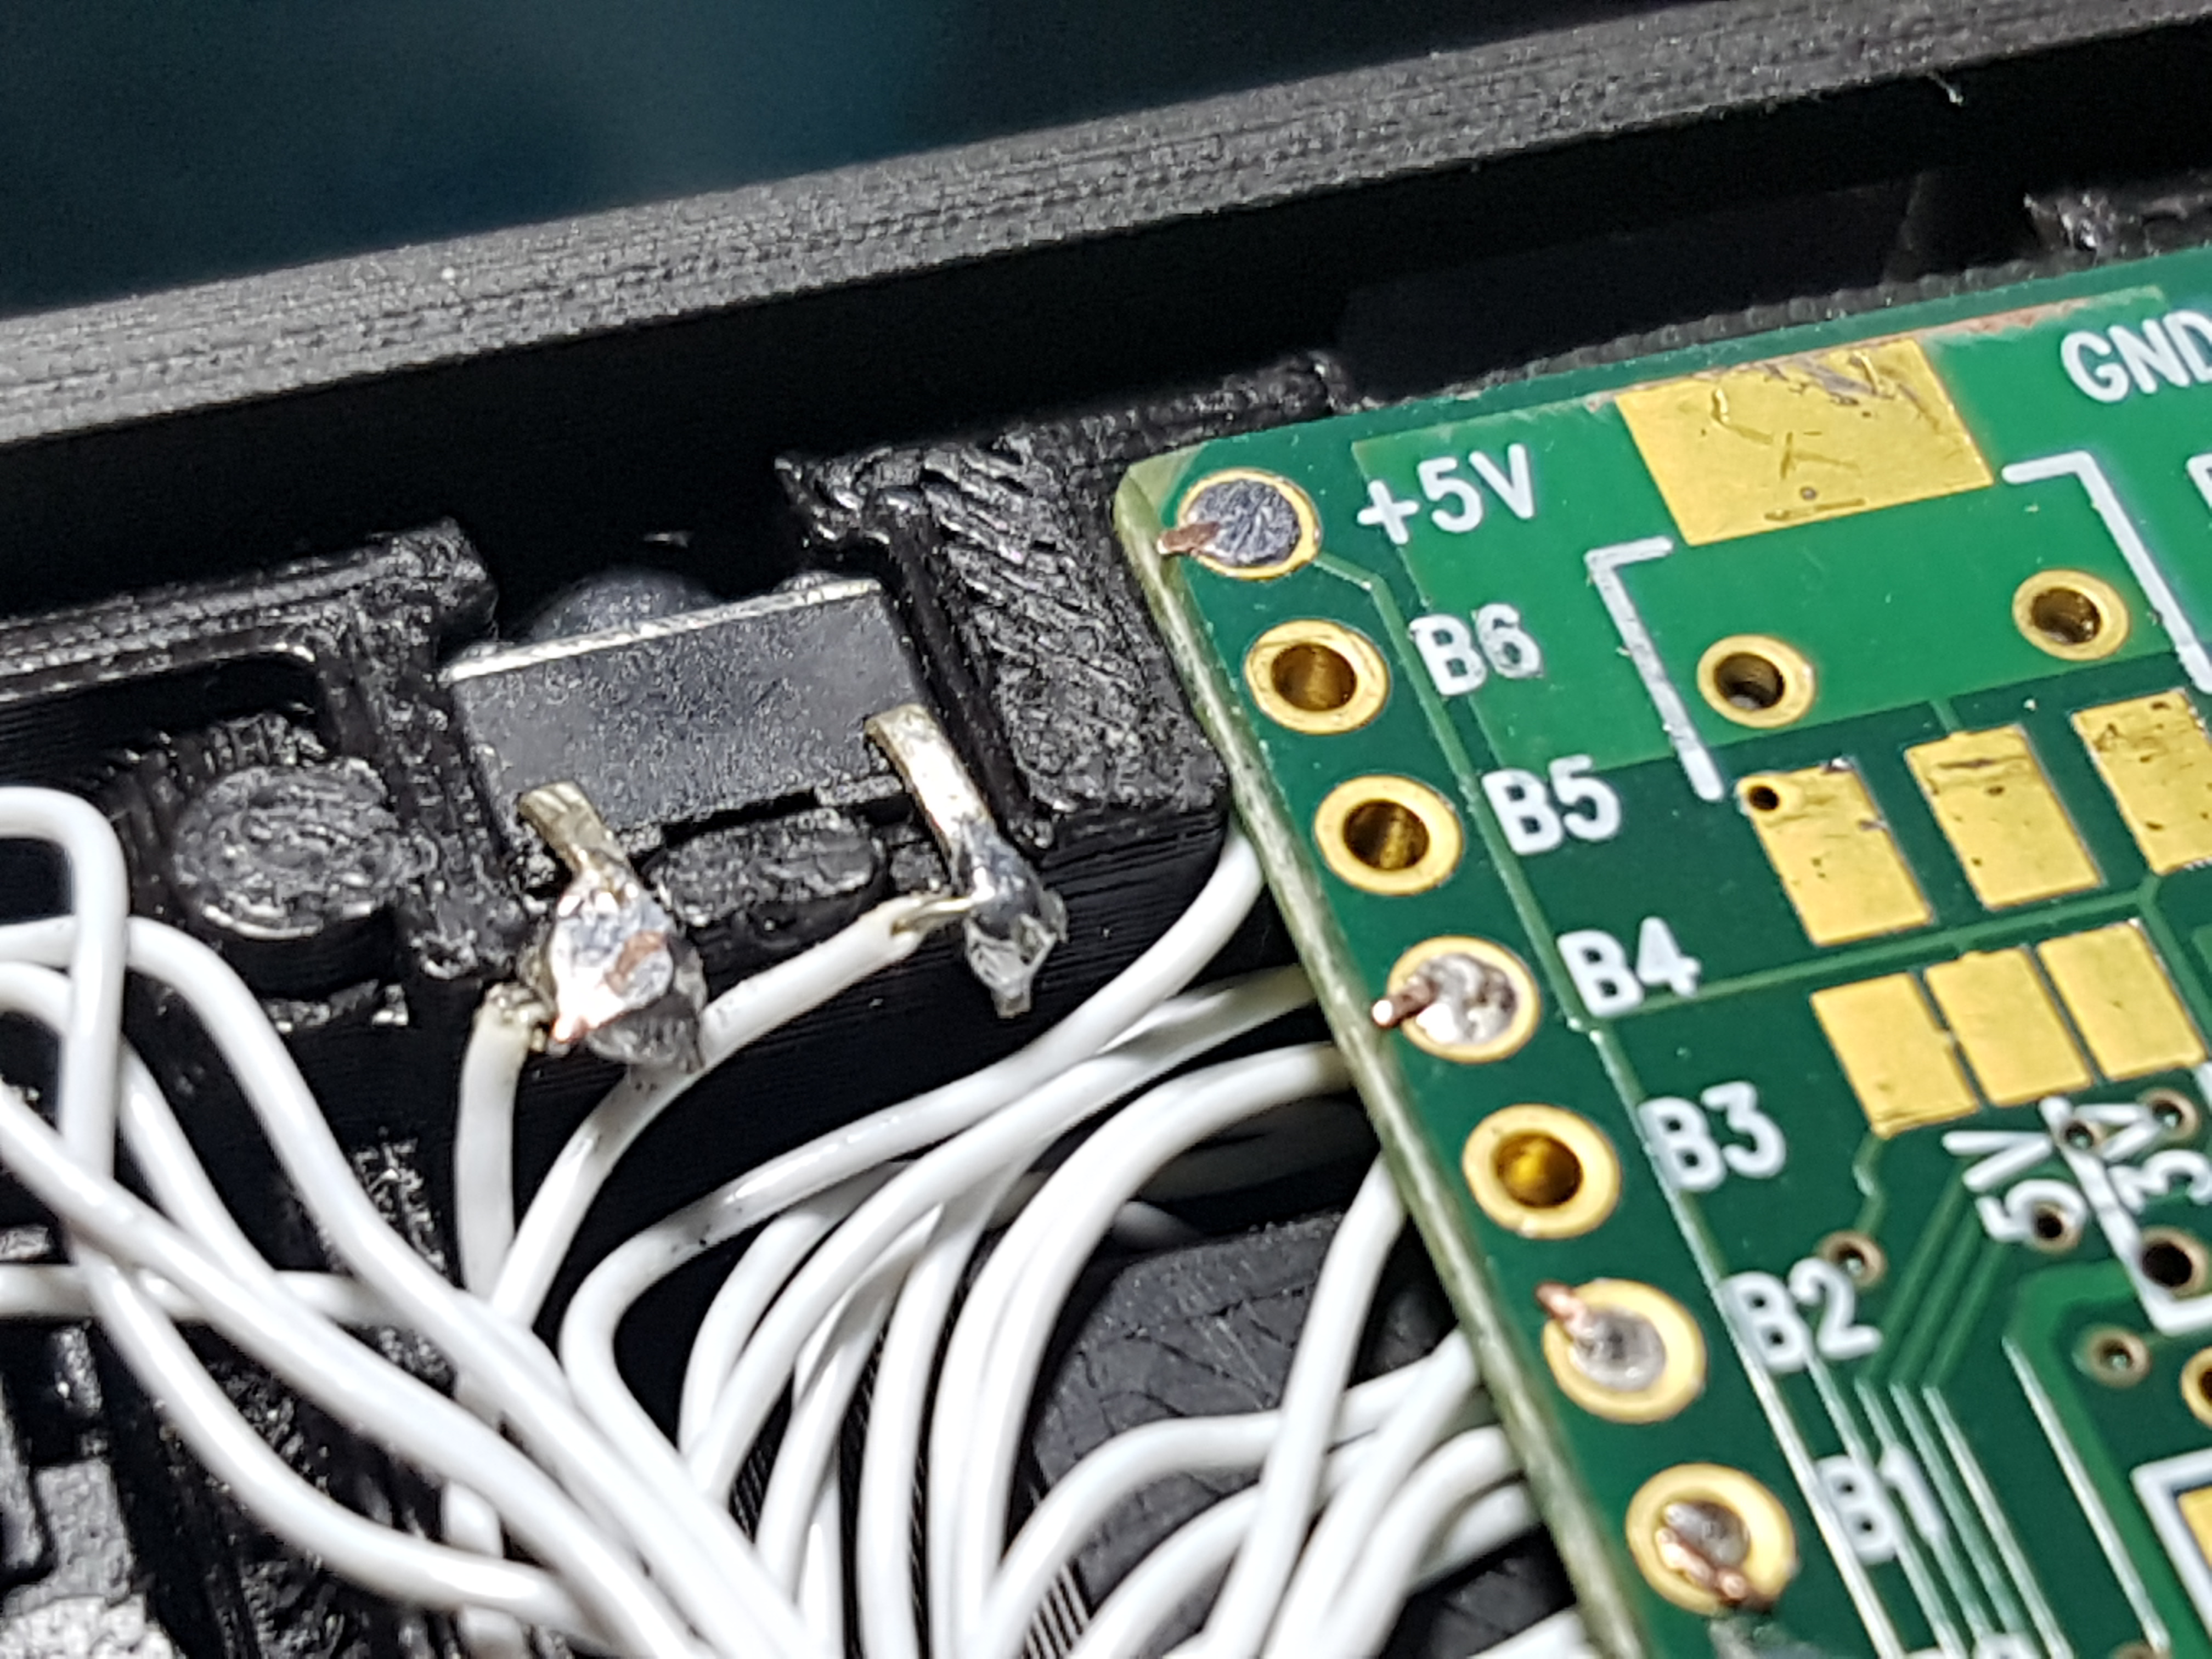
And its reset button, accessible from the back:
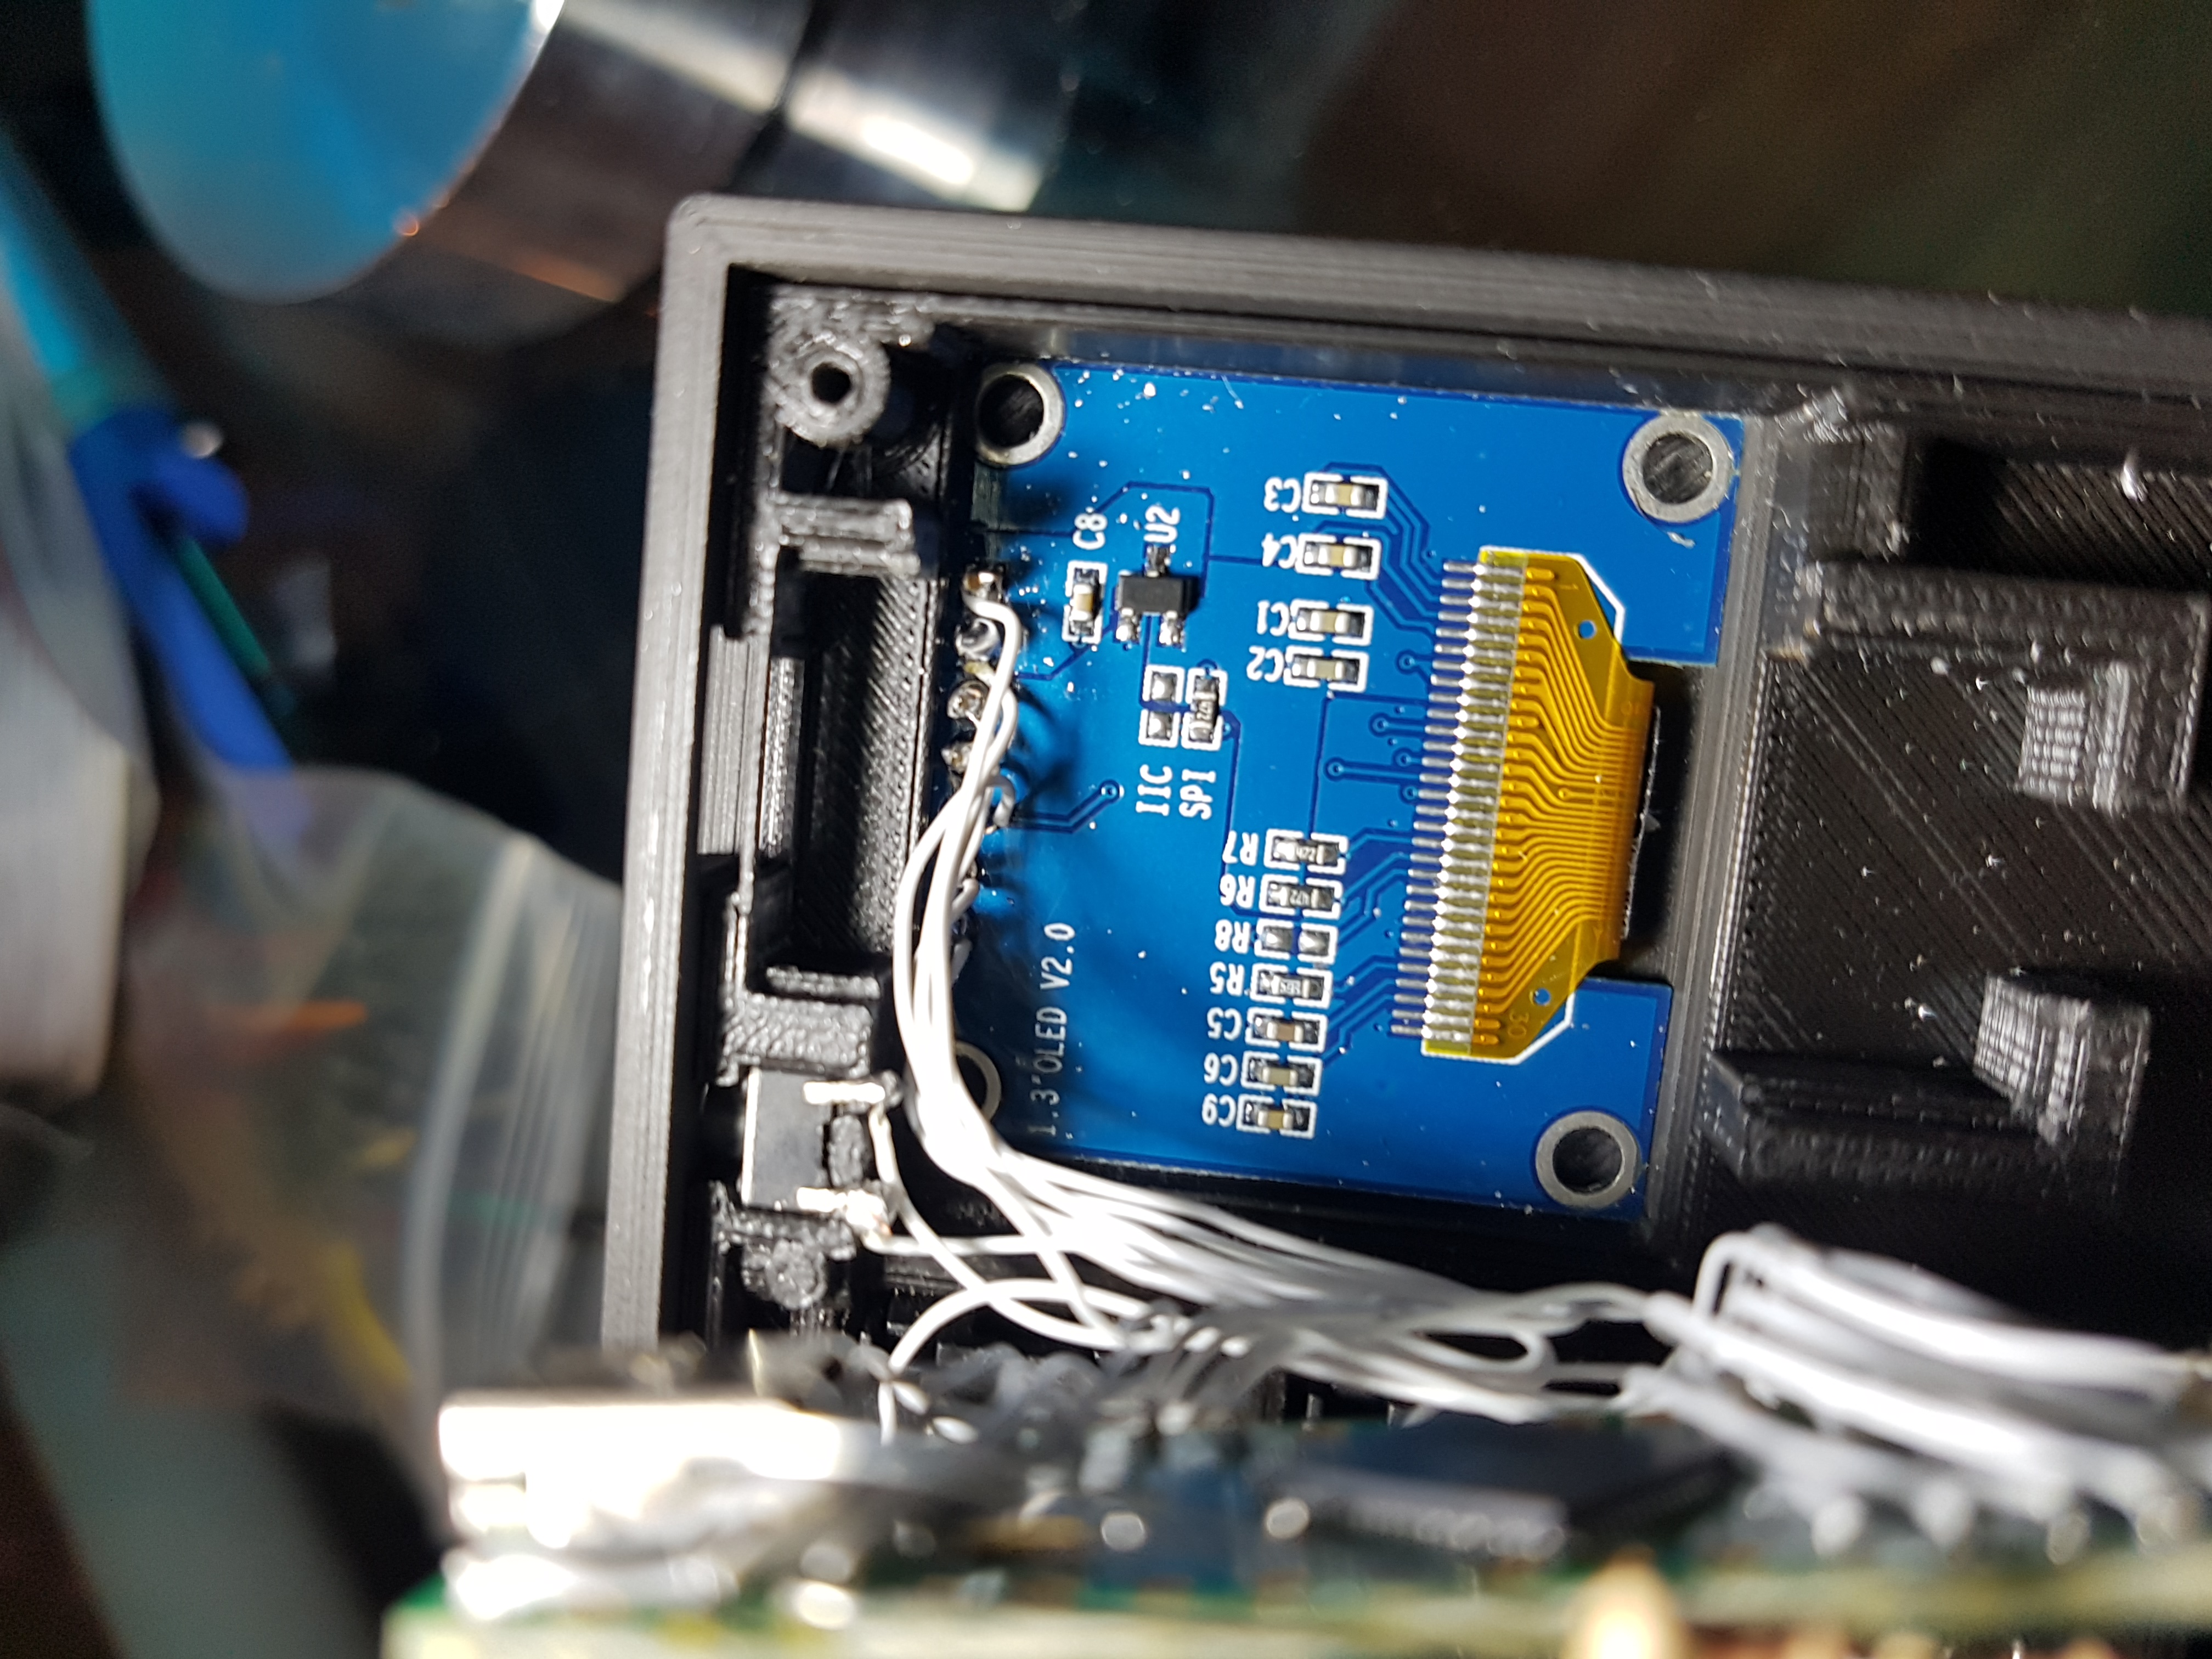
Below the Teensy, there’s a 3D printed spacer and below it, the OLED screen:
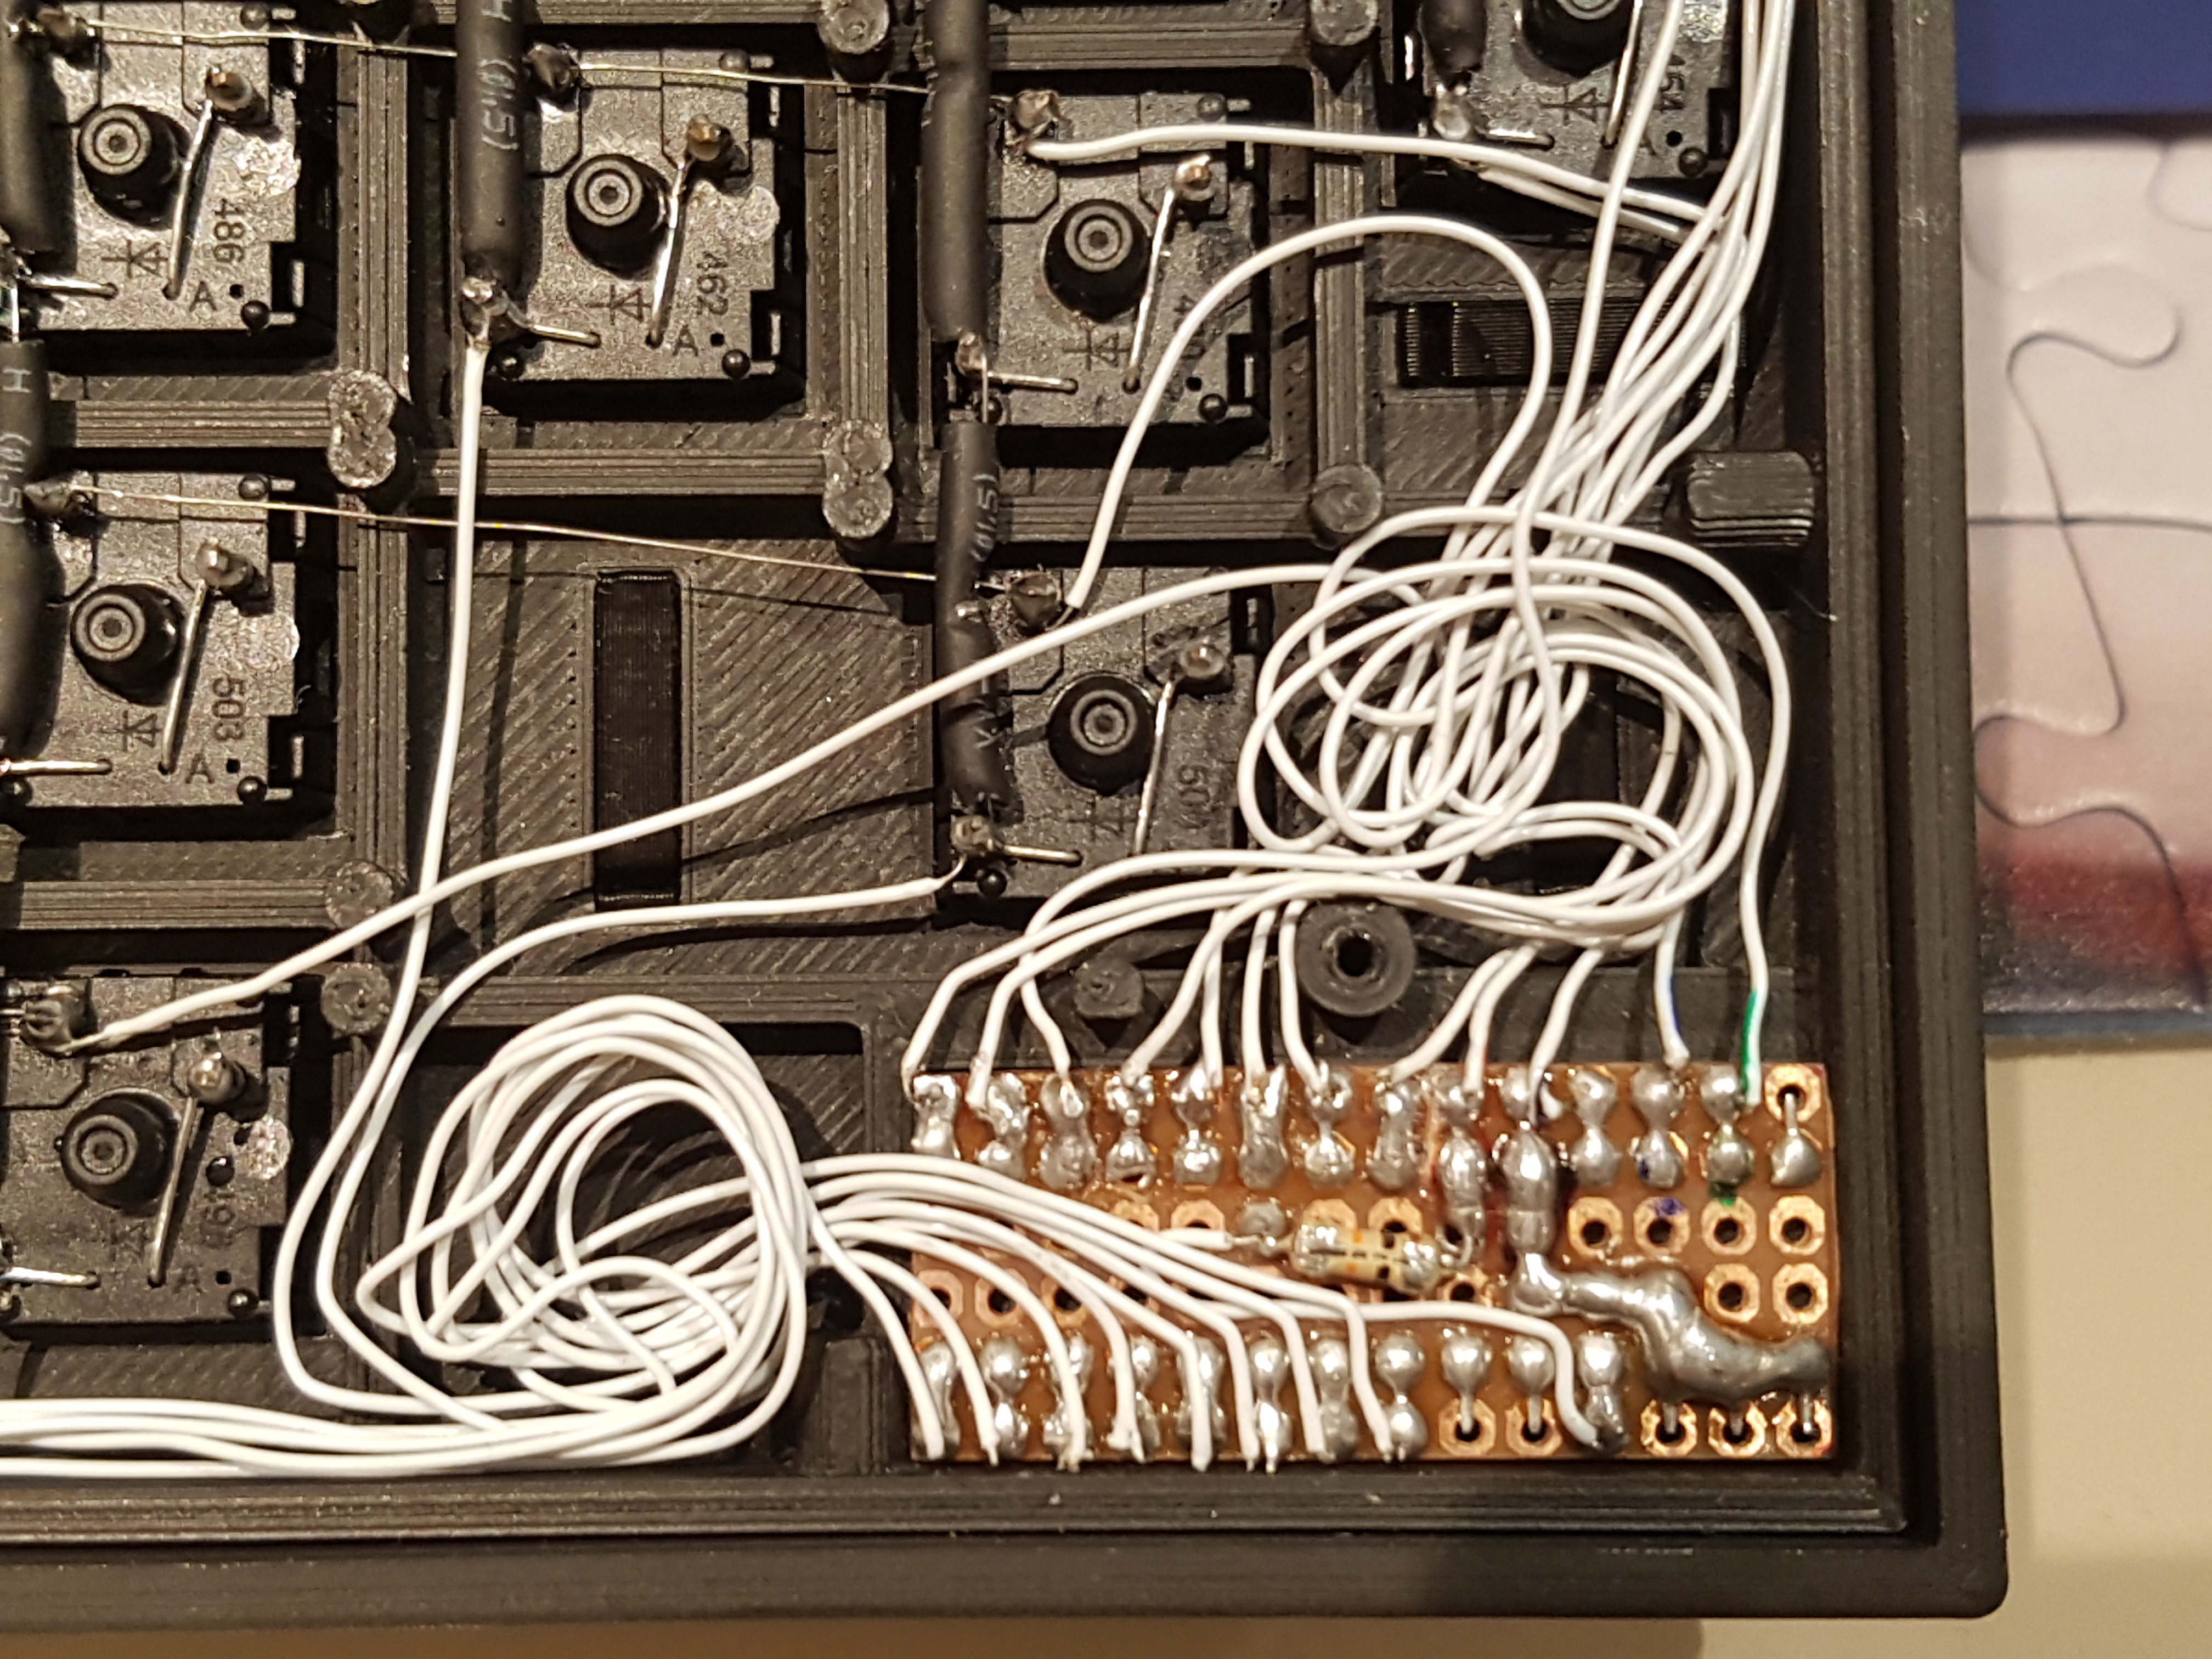
The right side houses a small PCB with the I/O expander chip (not visible in the picture):
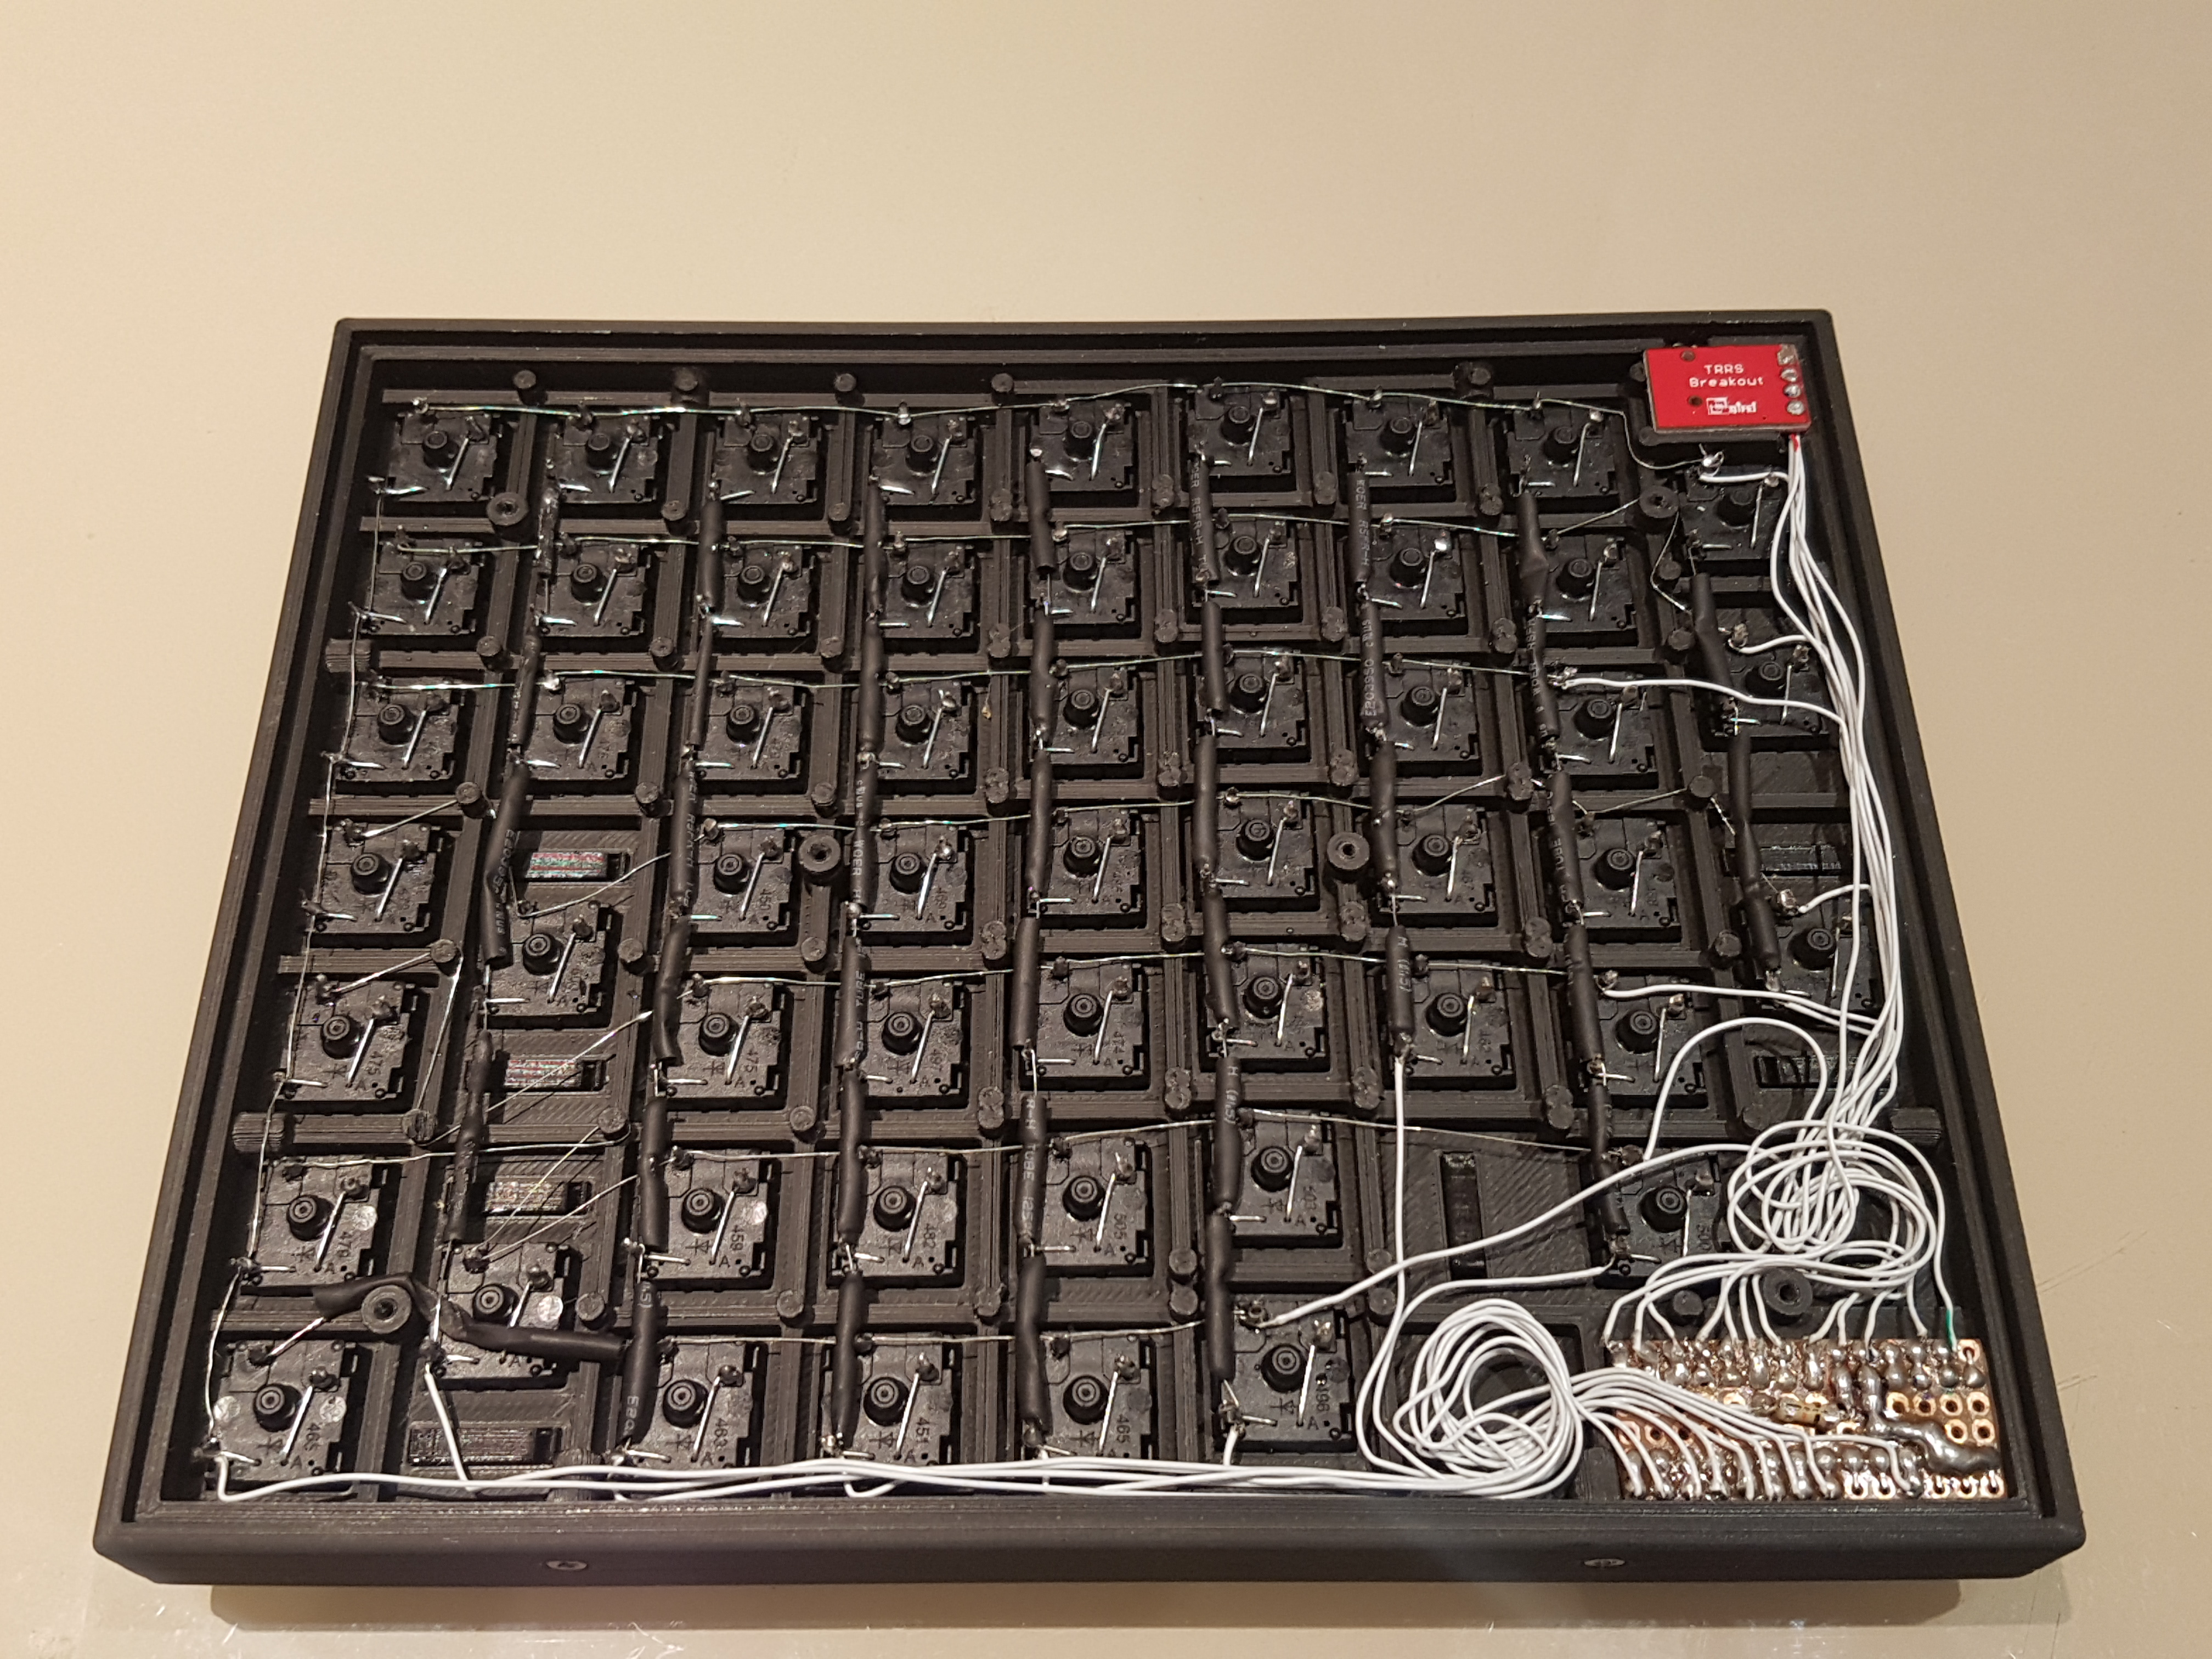
Here are the final assembled parts. The red PCB on the top is the female TRRS 3.5mm jack:
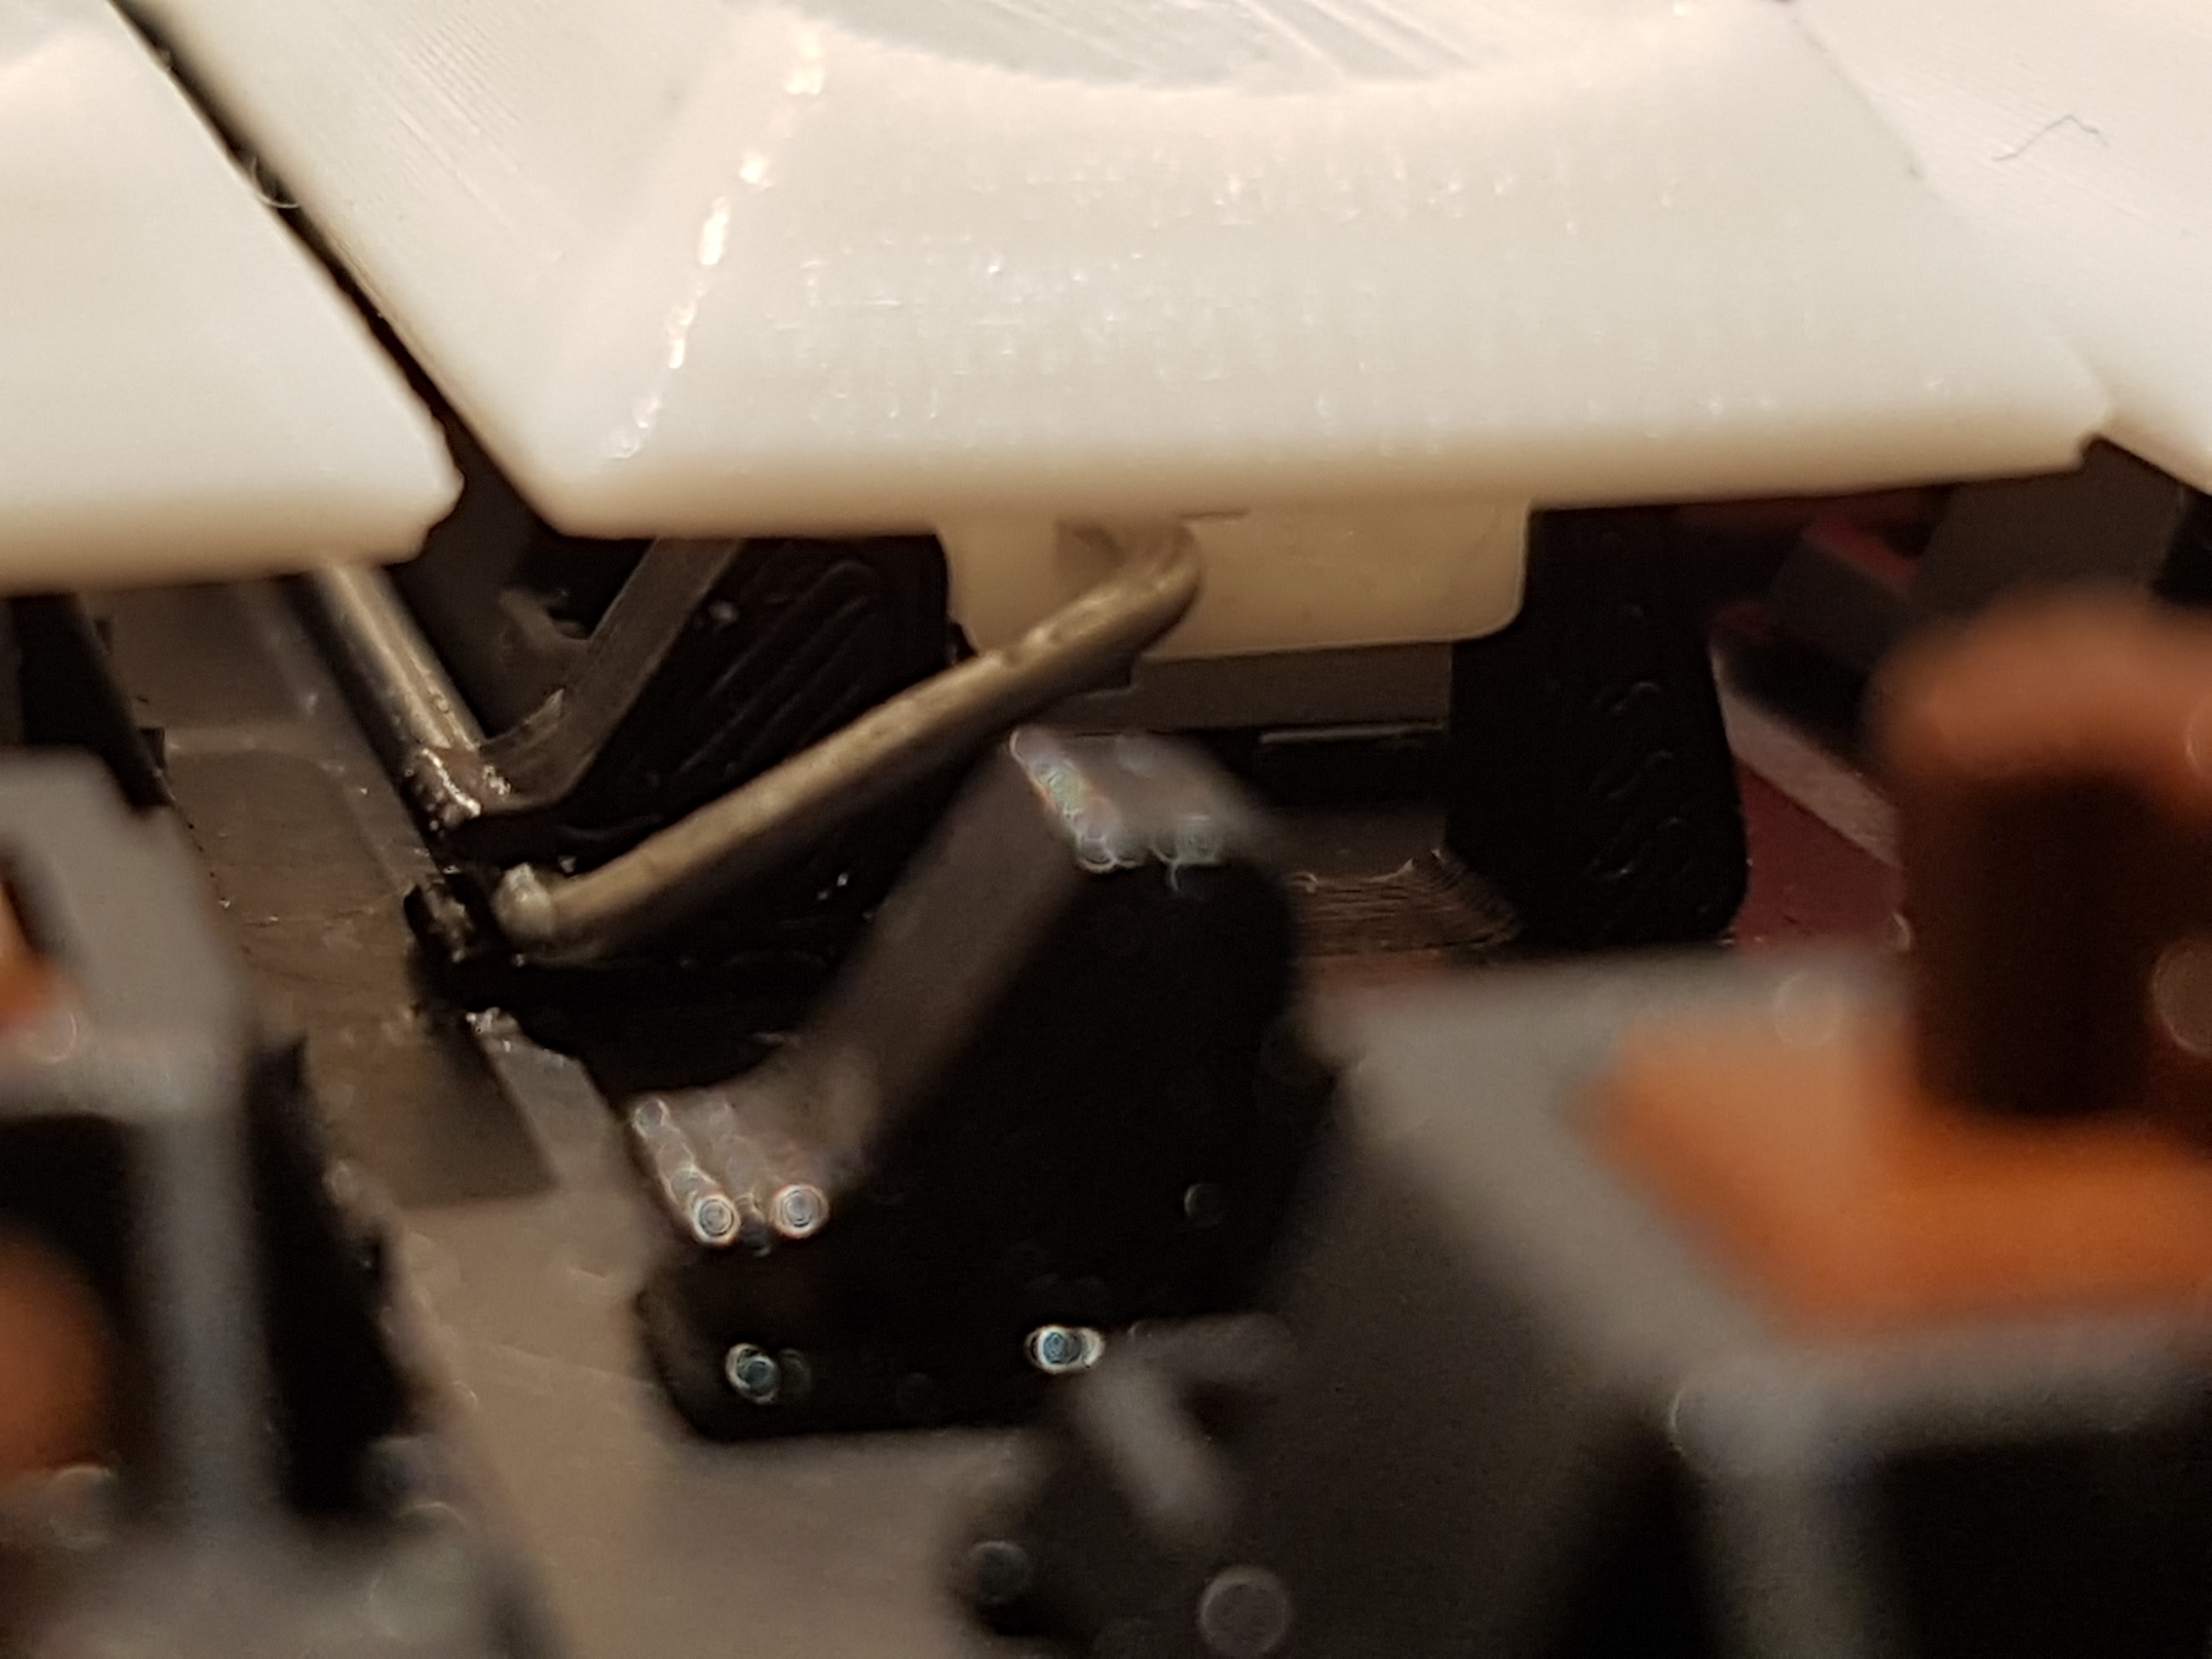
Some keys need stabilization, which was crafted using regular paper clips and a plier:
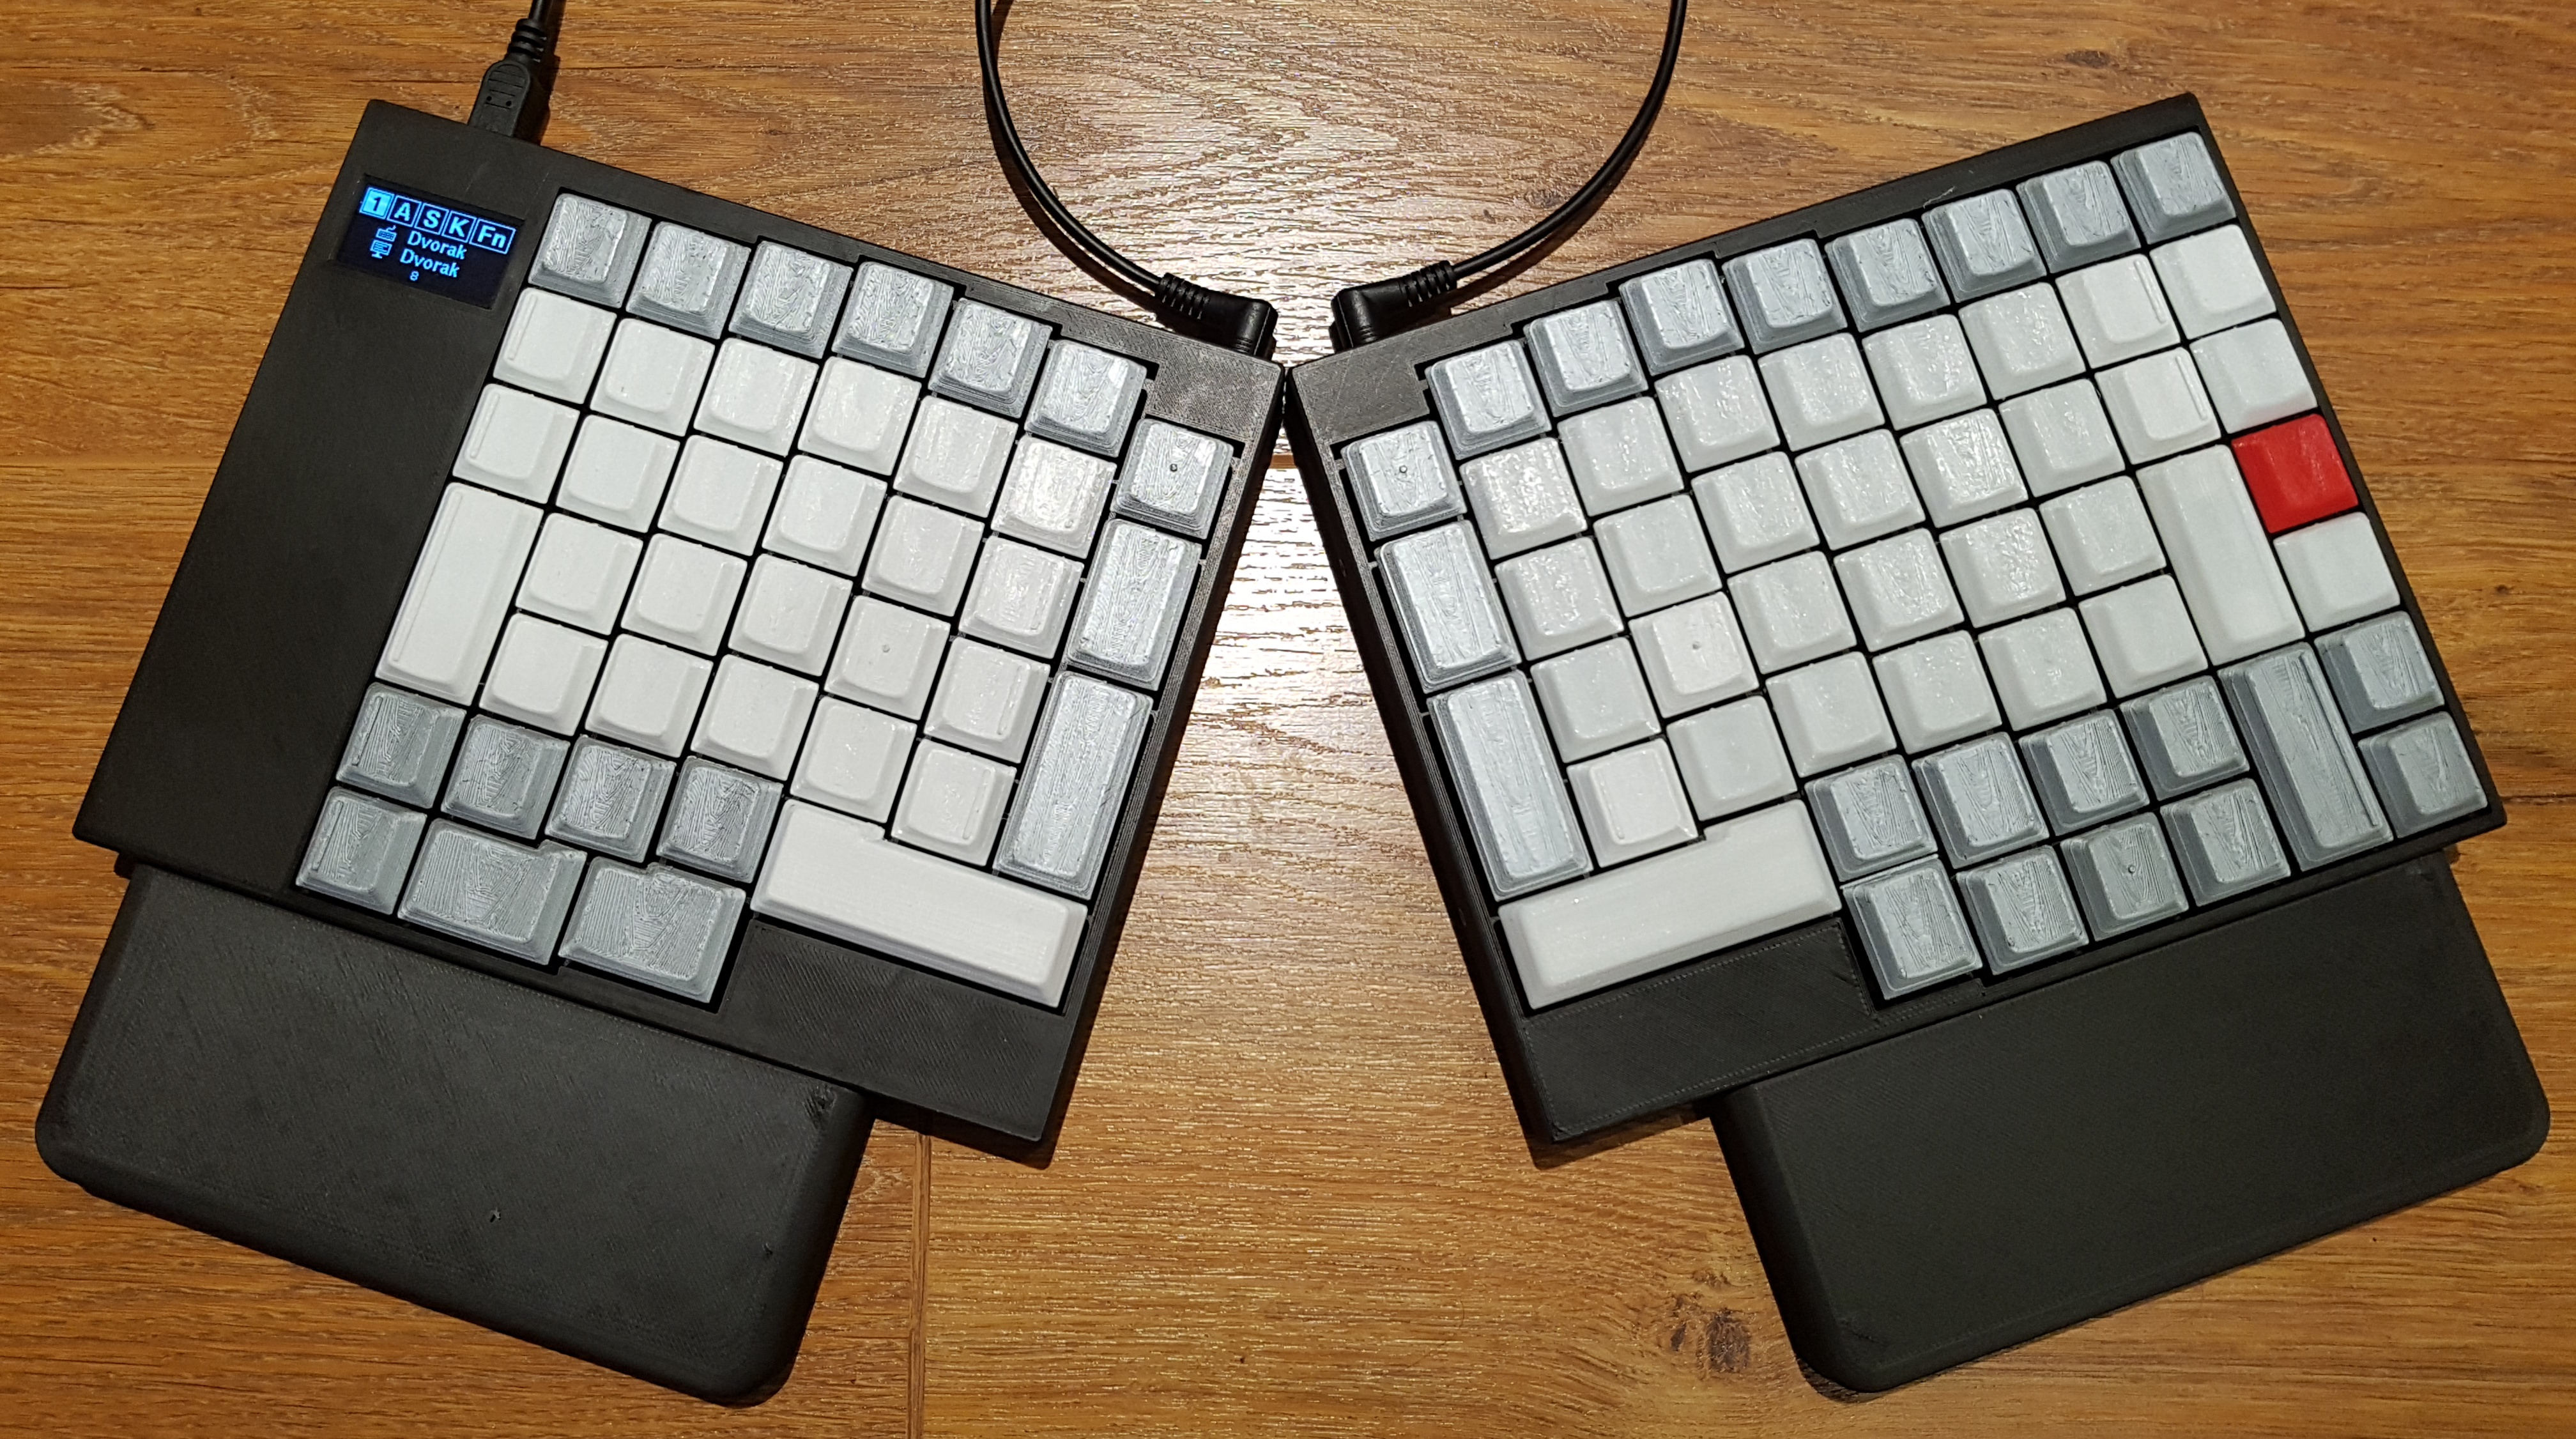
The plastic parts can be easily screwed in, to get to the final result:
Possible Improvements
Using a TRRS jack for connecting both sides was not the best option. When you connect the male jack, it shorts some paths inside the female jack for a brief period. This is far from optimal. As newer Ergodox keyboards are doing, it would be best to use something like a regular USB connector for safety.